Cryptomator#
Cryptomator is a cloud cryptor - a tool allowing to work on and to share encrypted data seamlessly. The main benefit of using Cryptomator is that the service is transparent - after proper setup, the user and all applications can work with the data exactly the same way as before while the data is more secured.
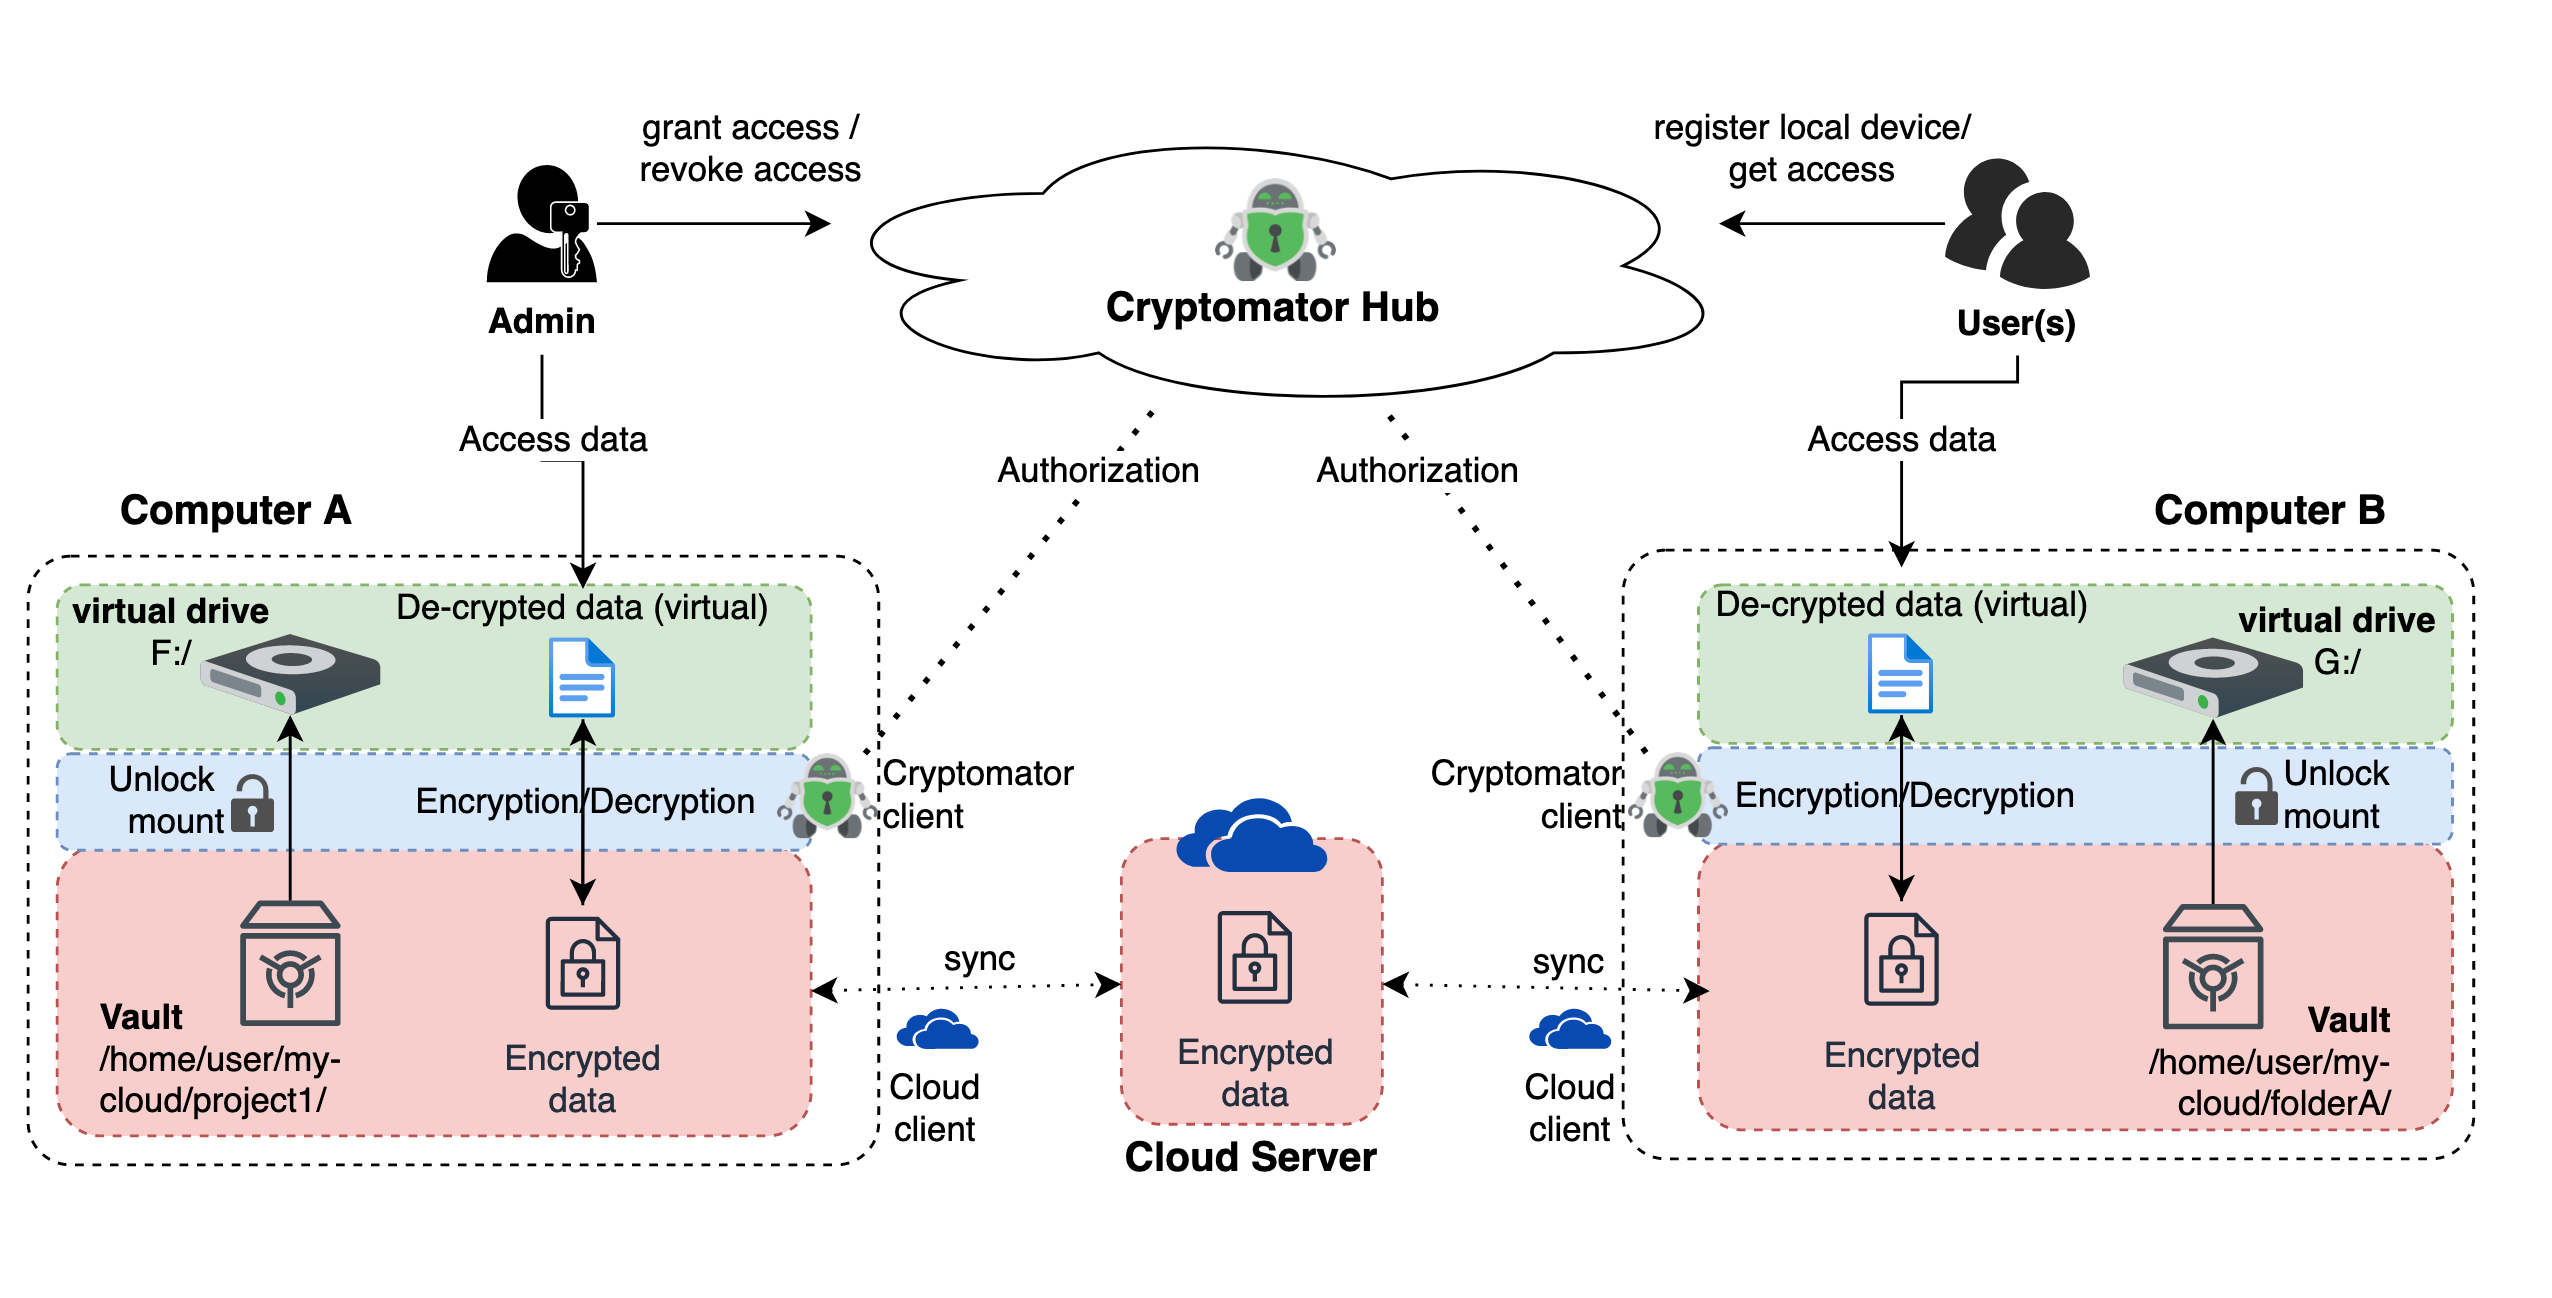
Cryptomator protects your data by ingesting it in a so-called vault, which is mounted to a virtual drive and password protected. To access and view the data, you must unlock the vault with the created password. The data is stored on the cloud of your choice when creating the vault, but is encrypted automatically by the Cryptomator client. It is only from the virtual drive which act as a USB flash drive that you can access and view the data, as it shows the decrypted view of its content. Ingesting your files directly into the virtual drive permits Cryptomator to automatically encrypt the data with AES and 256-bit key length.
This How-to Card provides a guide on the below topics. For the full documentation on using Cryptomator, please visit the official website.
- Download Cryptomator Desktop
- Setting up Cryptomator Hub
- Vault management
- Collaborating on a shared vault
Note: Cryptomator does not offer cloud storage but adds an extra protection to your data stored on the cloud by automatically encrypting the files in the vault.
Downloading Cryptomator Desktop#
The desktop version of Cryptomator is available both for macOS, Windows, and Linux. Please follow the guide on Cryptomator’s official website to install the application on your operating system.
Cryptomator Hub#
Cryptomator Hub adds key and access management to your vaults from a central component deployed on your infrastructure, permitting collaborative work. As an owner/administrator of a vault, you can share your vaults with other people, who can access the vault by authenticating with Keycloak. There is thus no need for creating new accounts nor sharing encryption passwords with collaborators which are easily stolen, copied, or misused, and no data is shared on any online services.
As a vault administrator it is important to manage the admin password properly. In case you lose or forget the admin password, a recovery key is needed to restore access to the vault. This recovery key is generated upon creating the vault (see guide below). In practical, it is the responsibility of the project manager and/or PI to manage and store the admin vault password securely. Please use passphrase and proper password management when creating the admin vault password. For further information, visit the How-to Card on password management.
Setting up Cryptomator Hub#
Prerequisite: A Cryptomator license is required to use Cryptomator Hub and can be requested via the Service Portal.
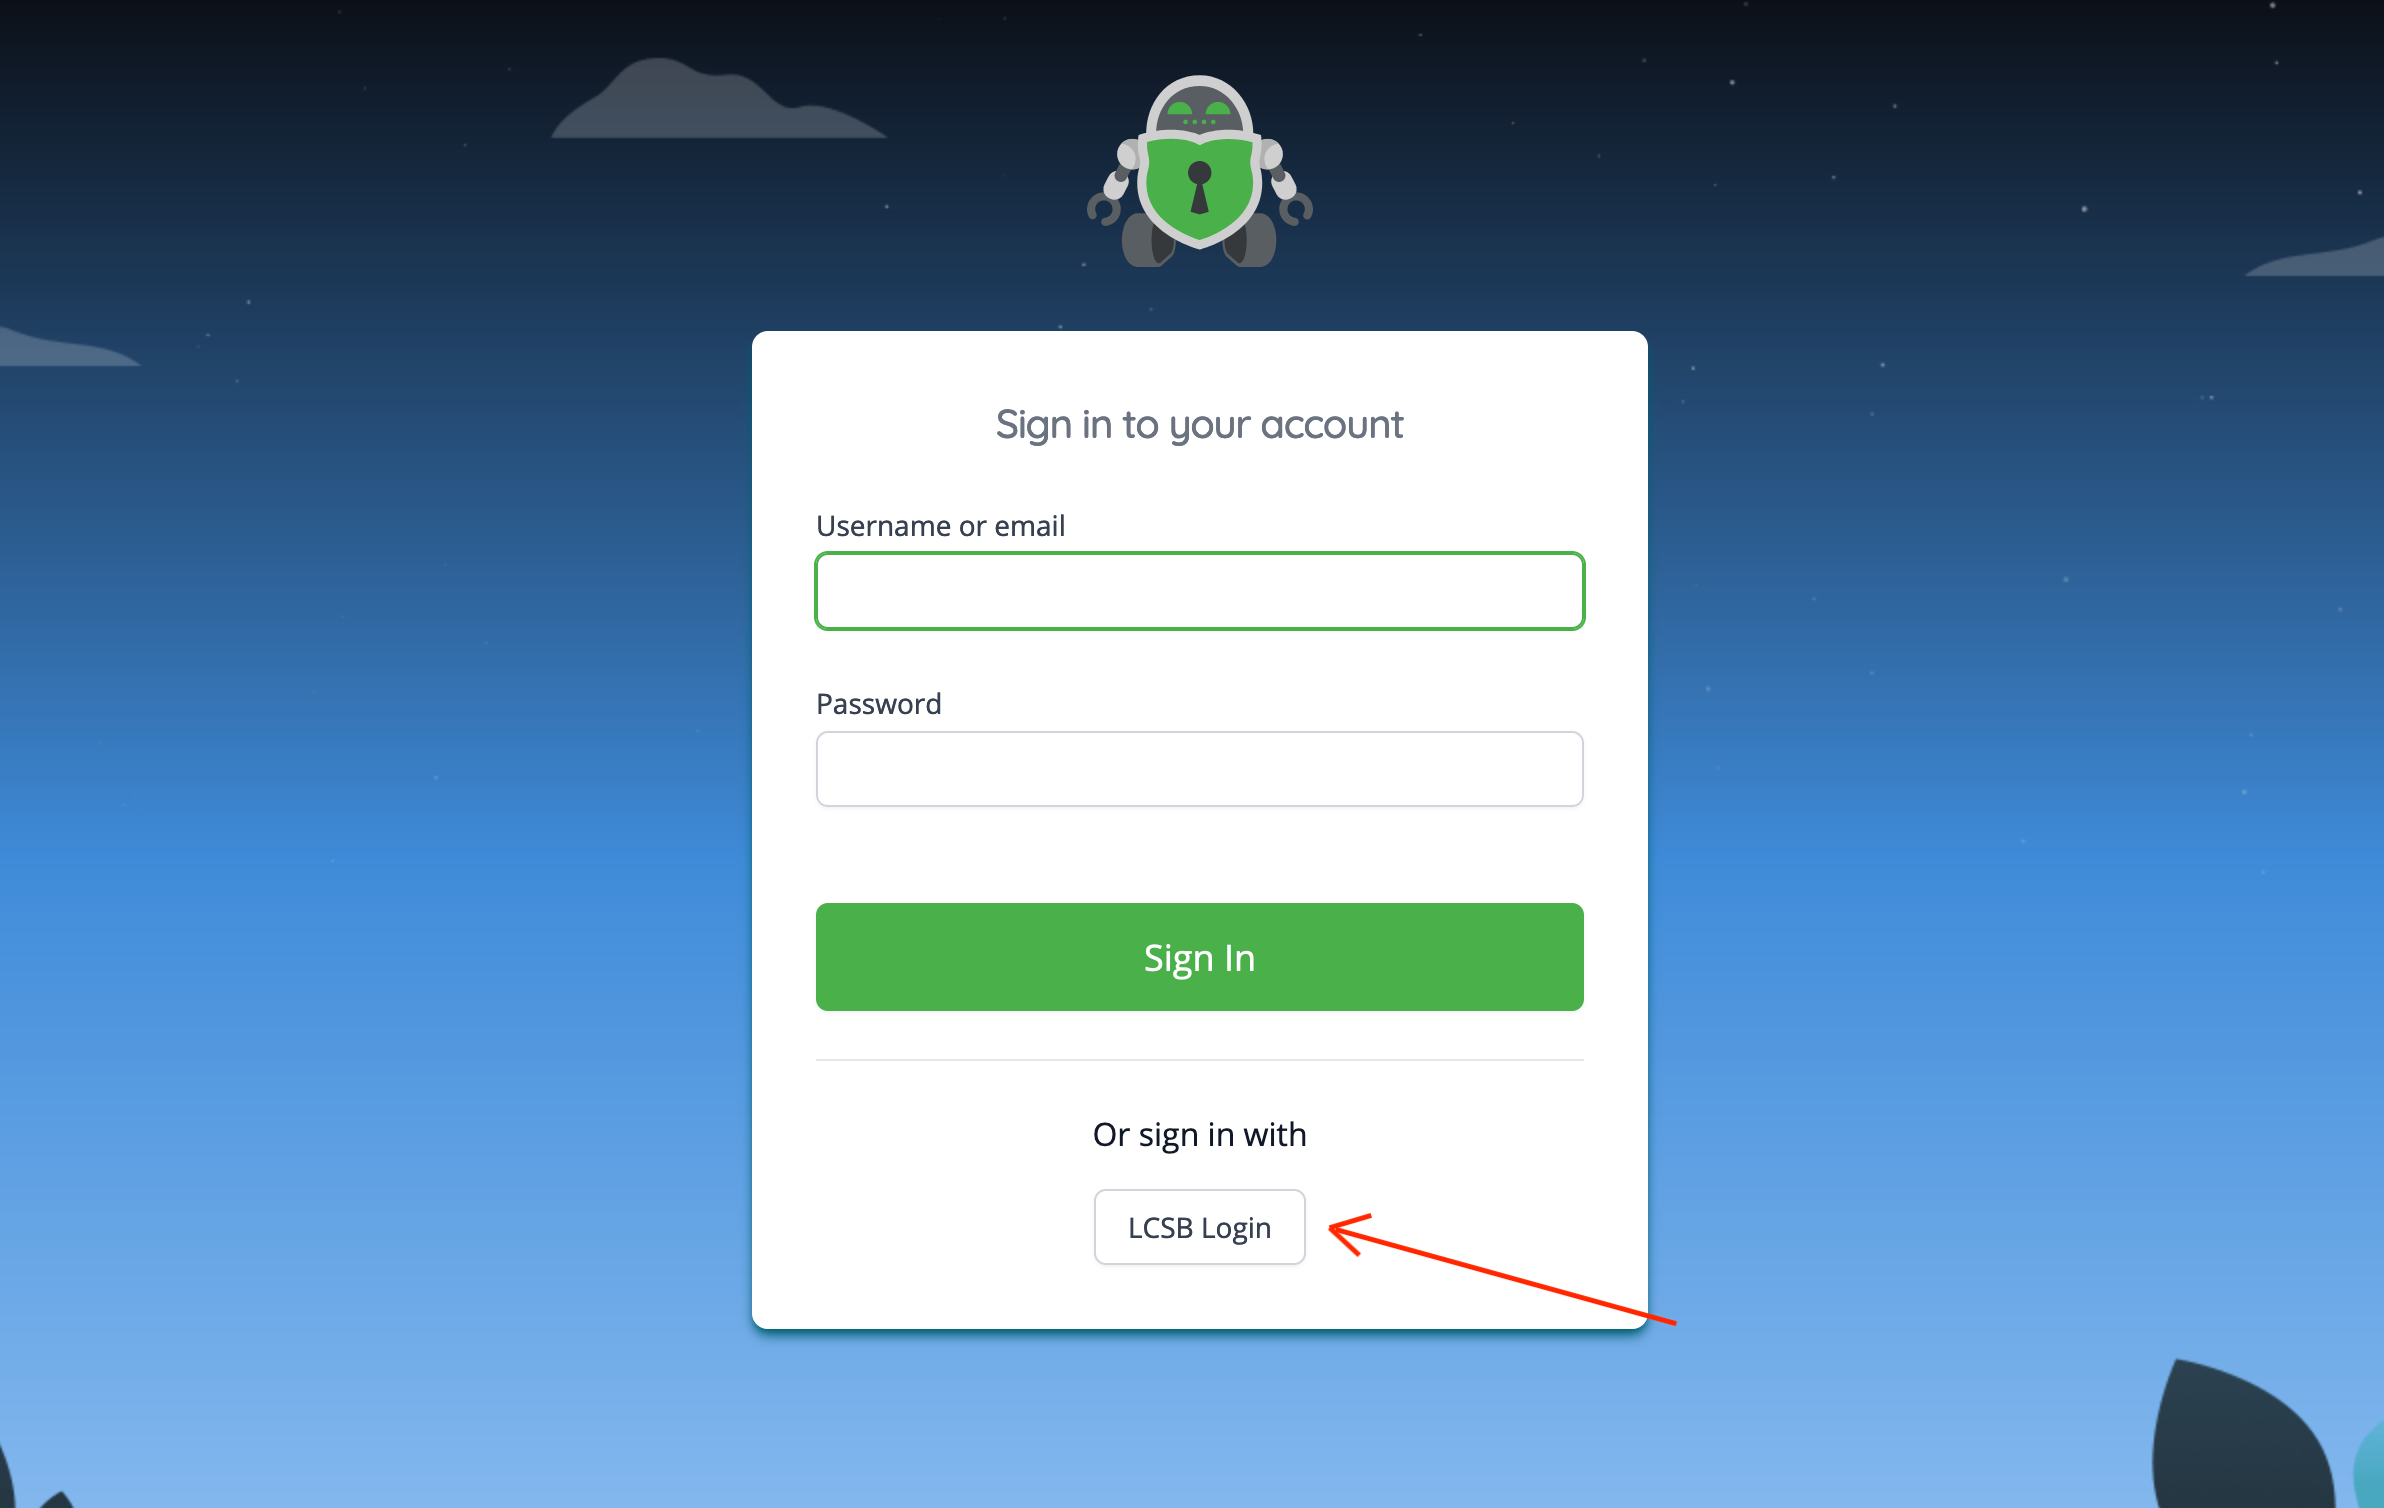
Go to the LCSB instance of Cryptomator Hub.
Click on “LCSB Login”.
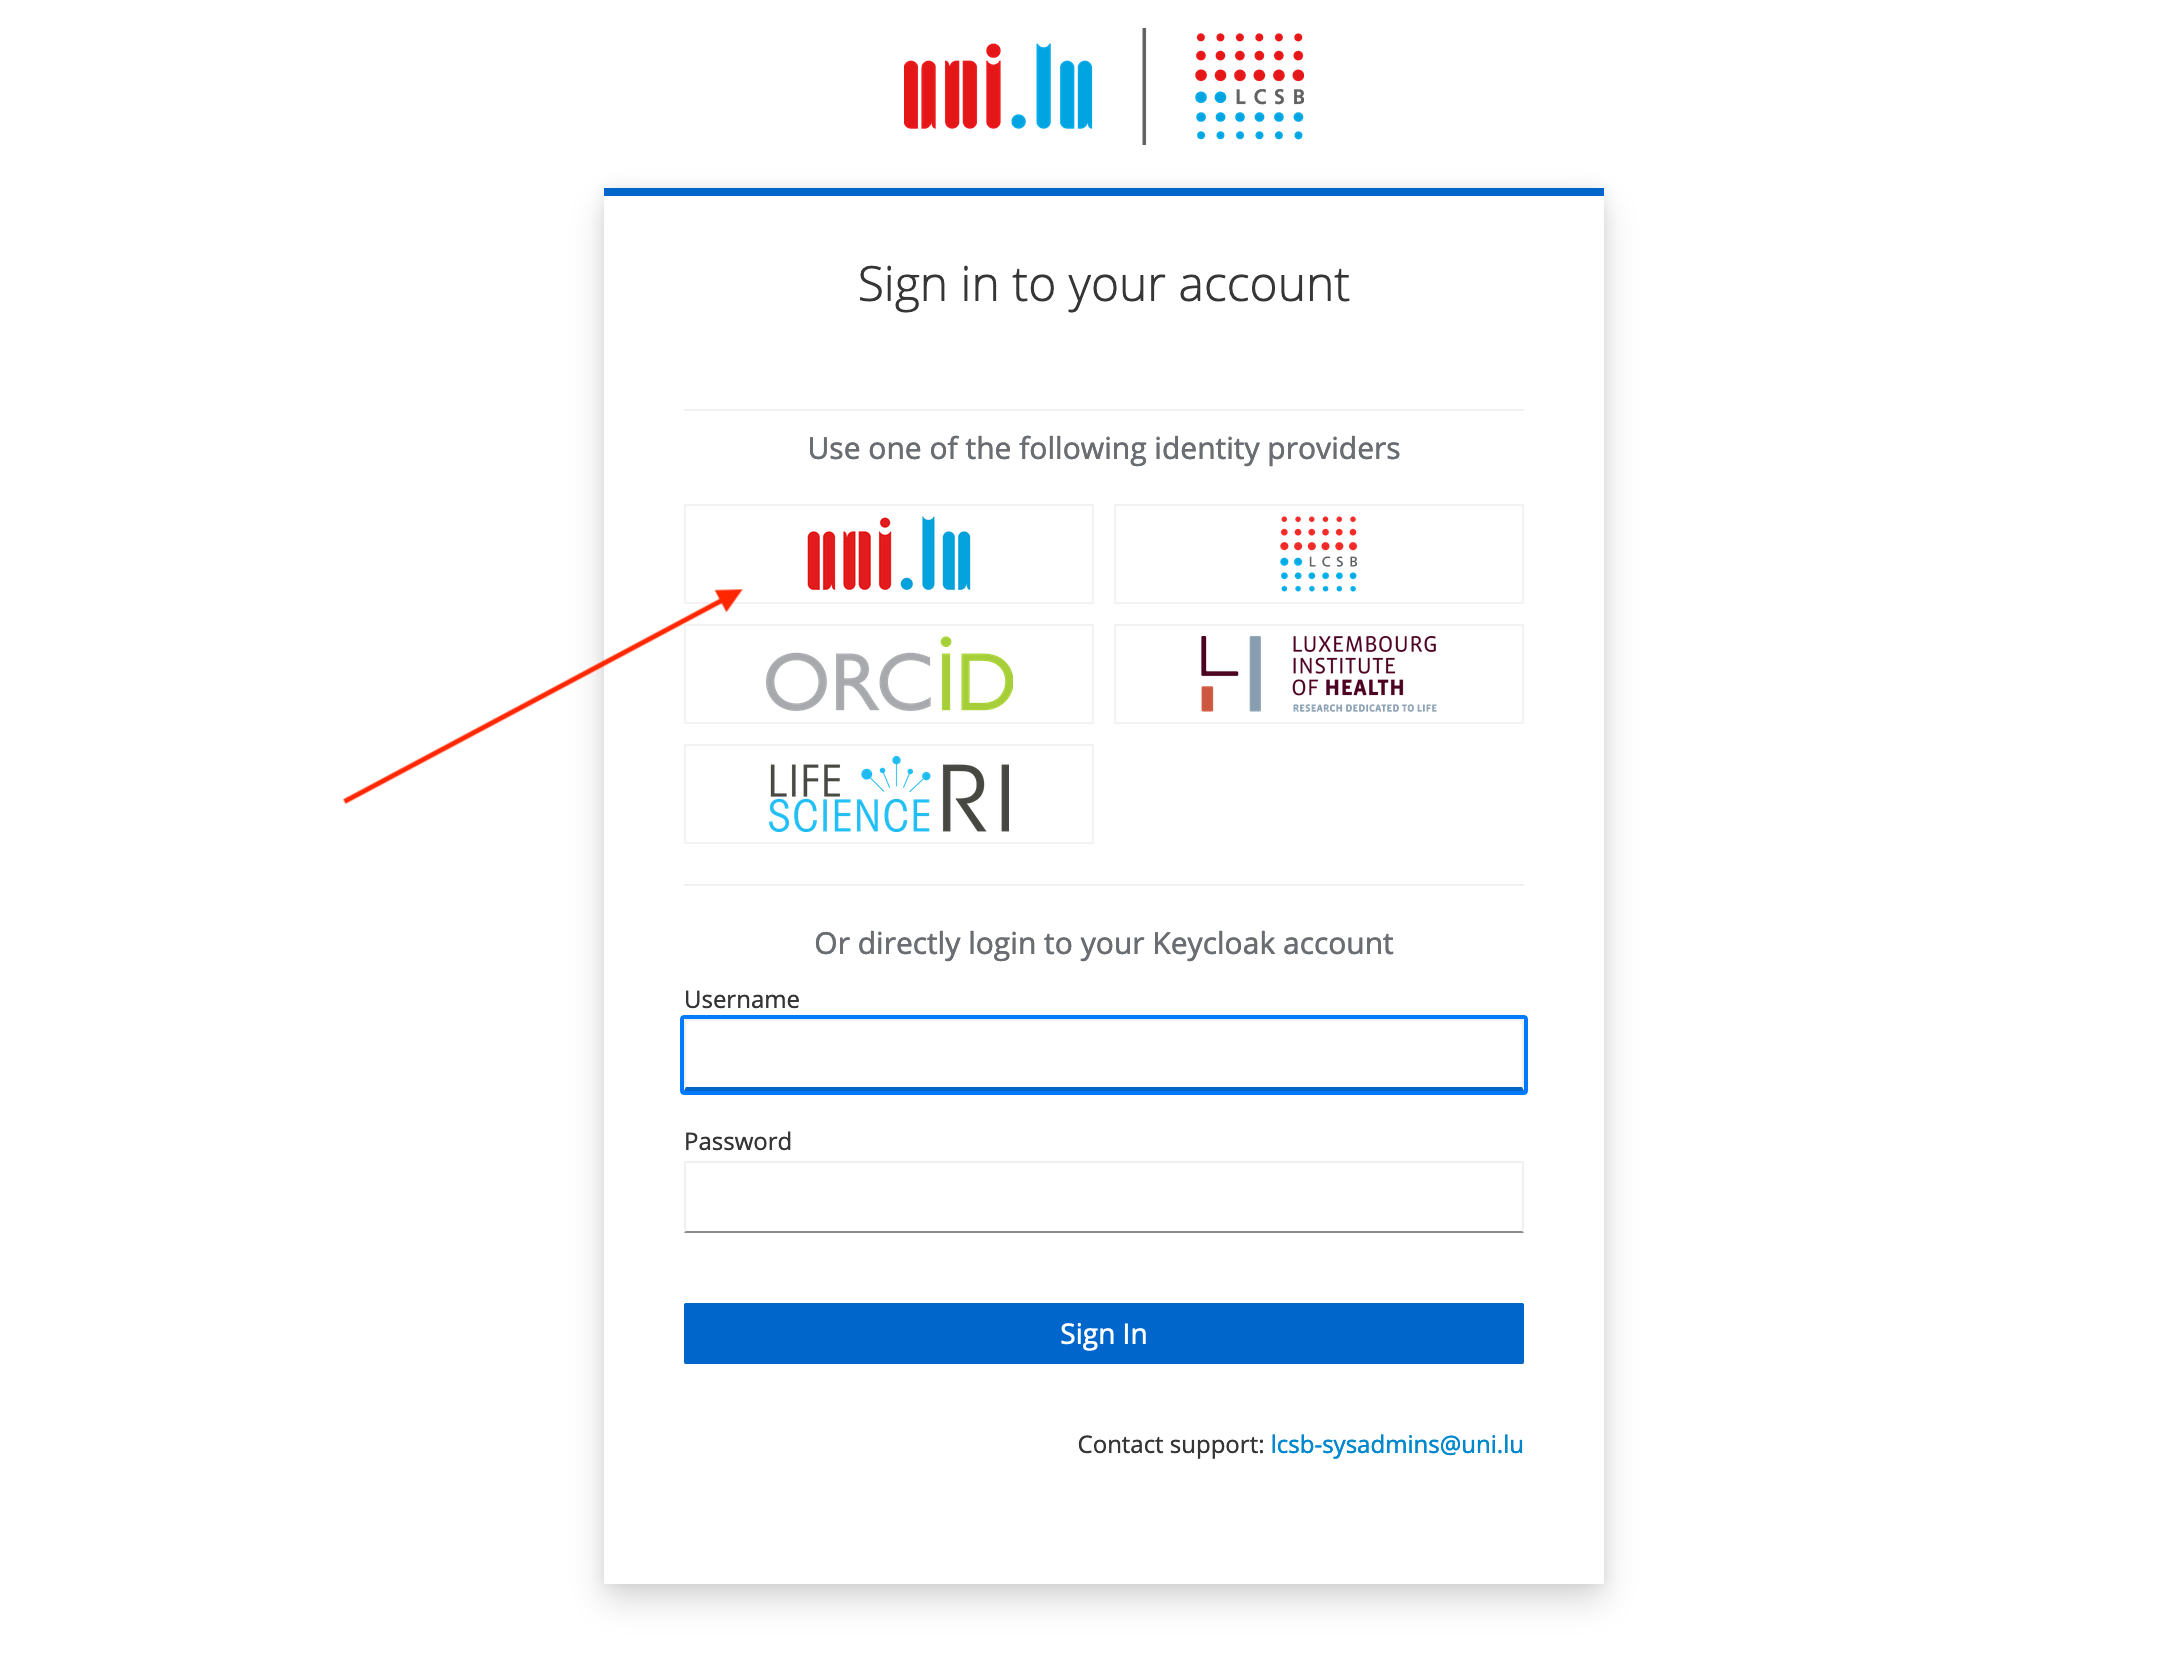
Select “uni.lu” account to sign in.
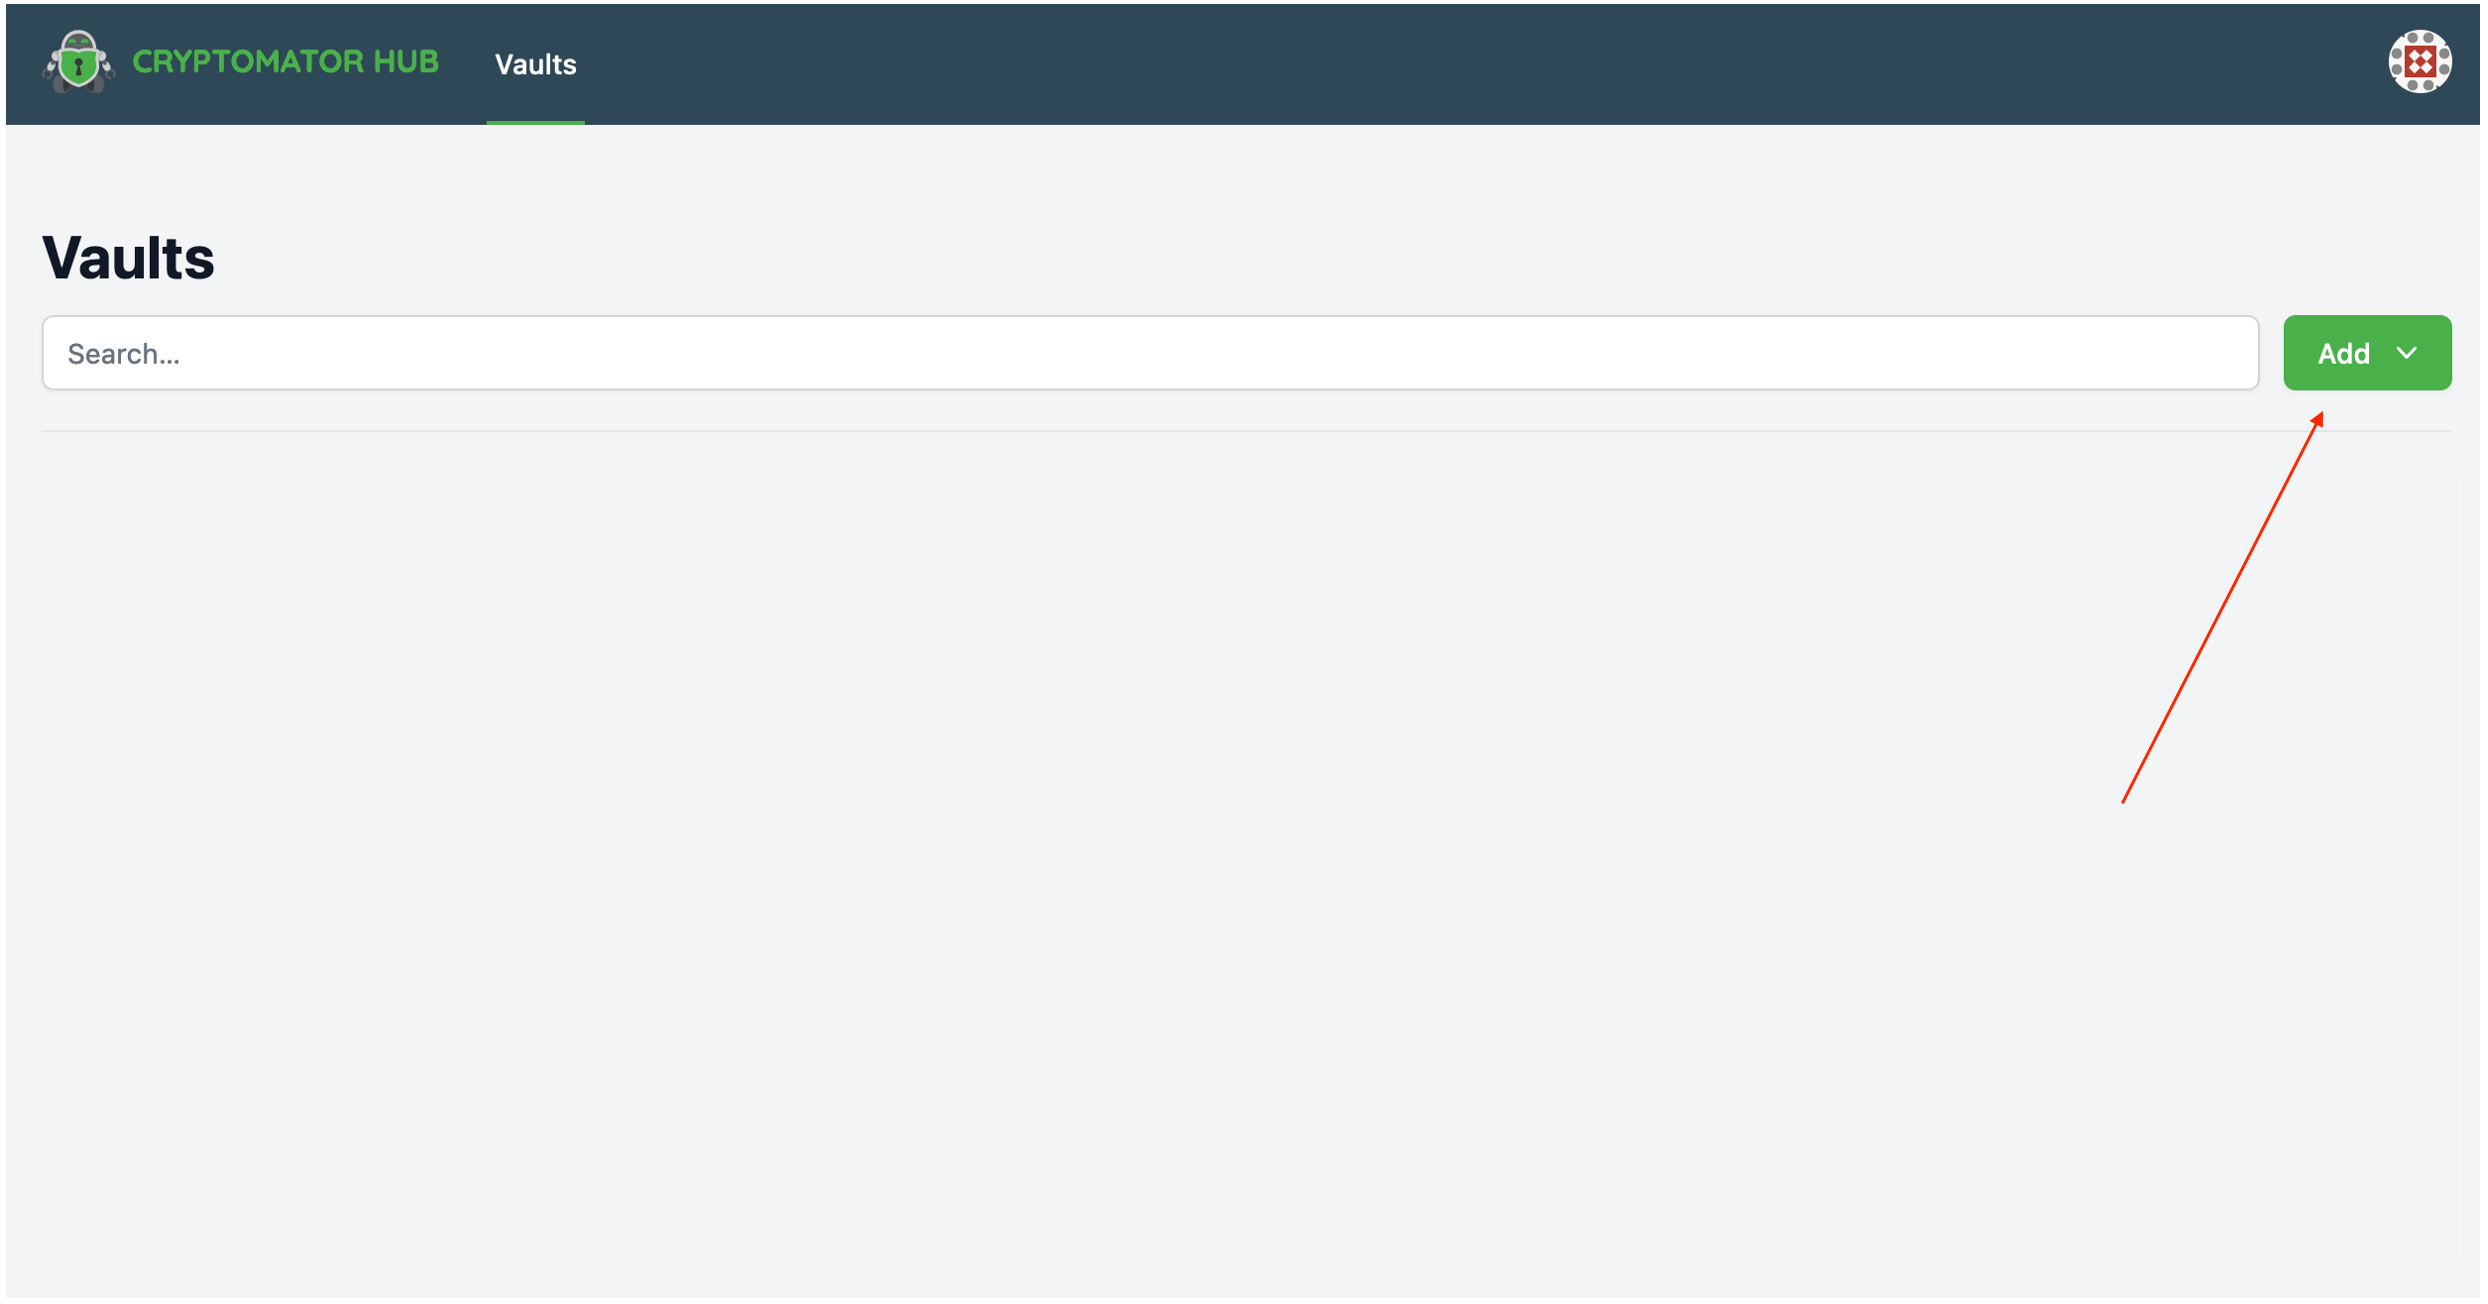
When signed in successfully, you will be presented with the Hub’s main page. To create a new vault, click the “Add” button on the top right corner and then “create new”.
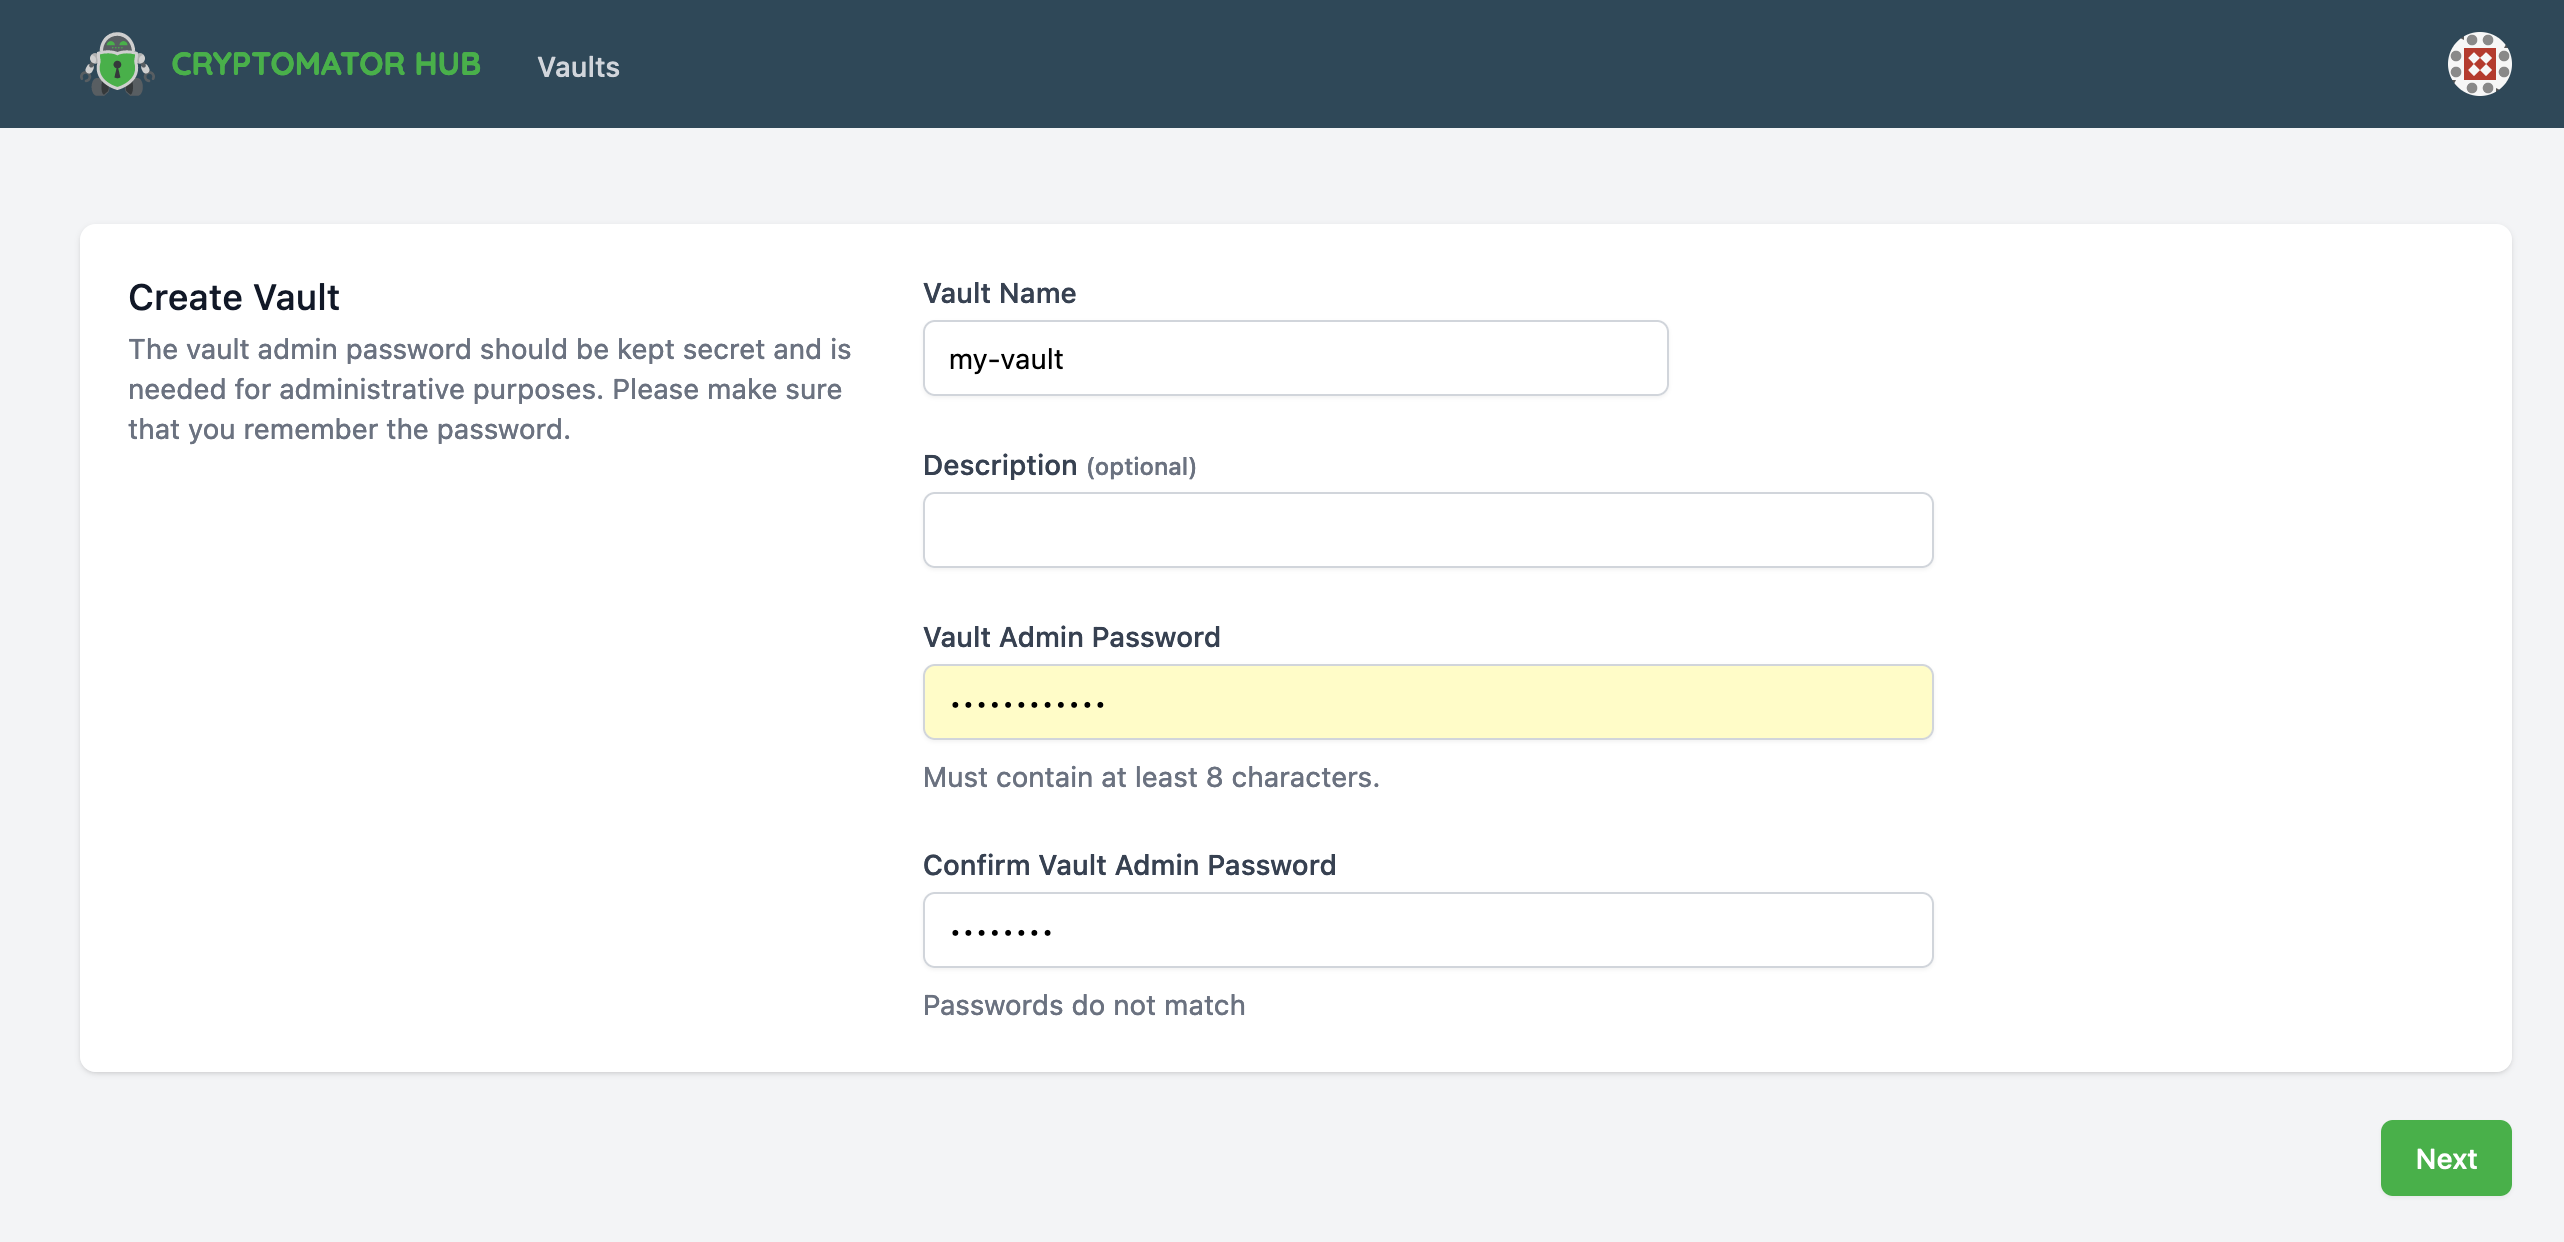
Fill out vault name and admin password. The admin password is required to grant or revoke access to the vault. When the form is completed, click “Next”.
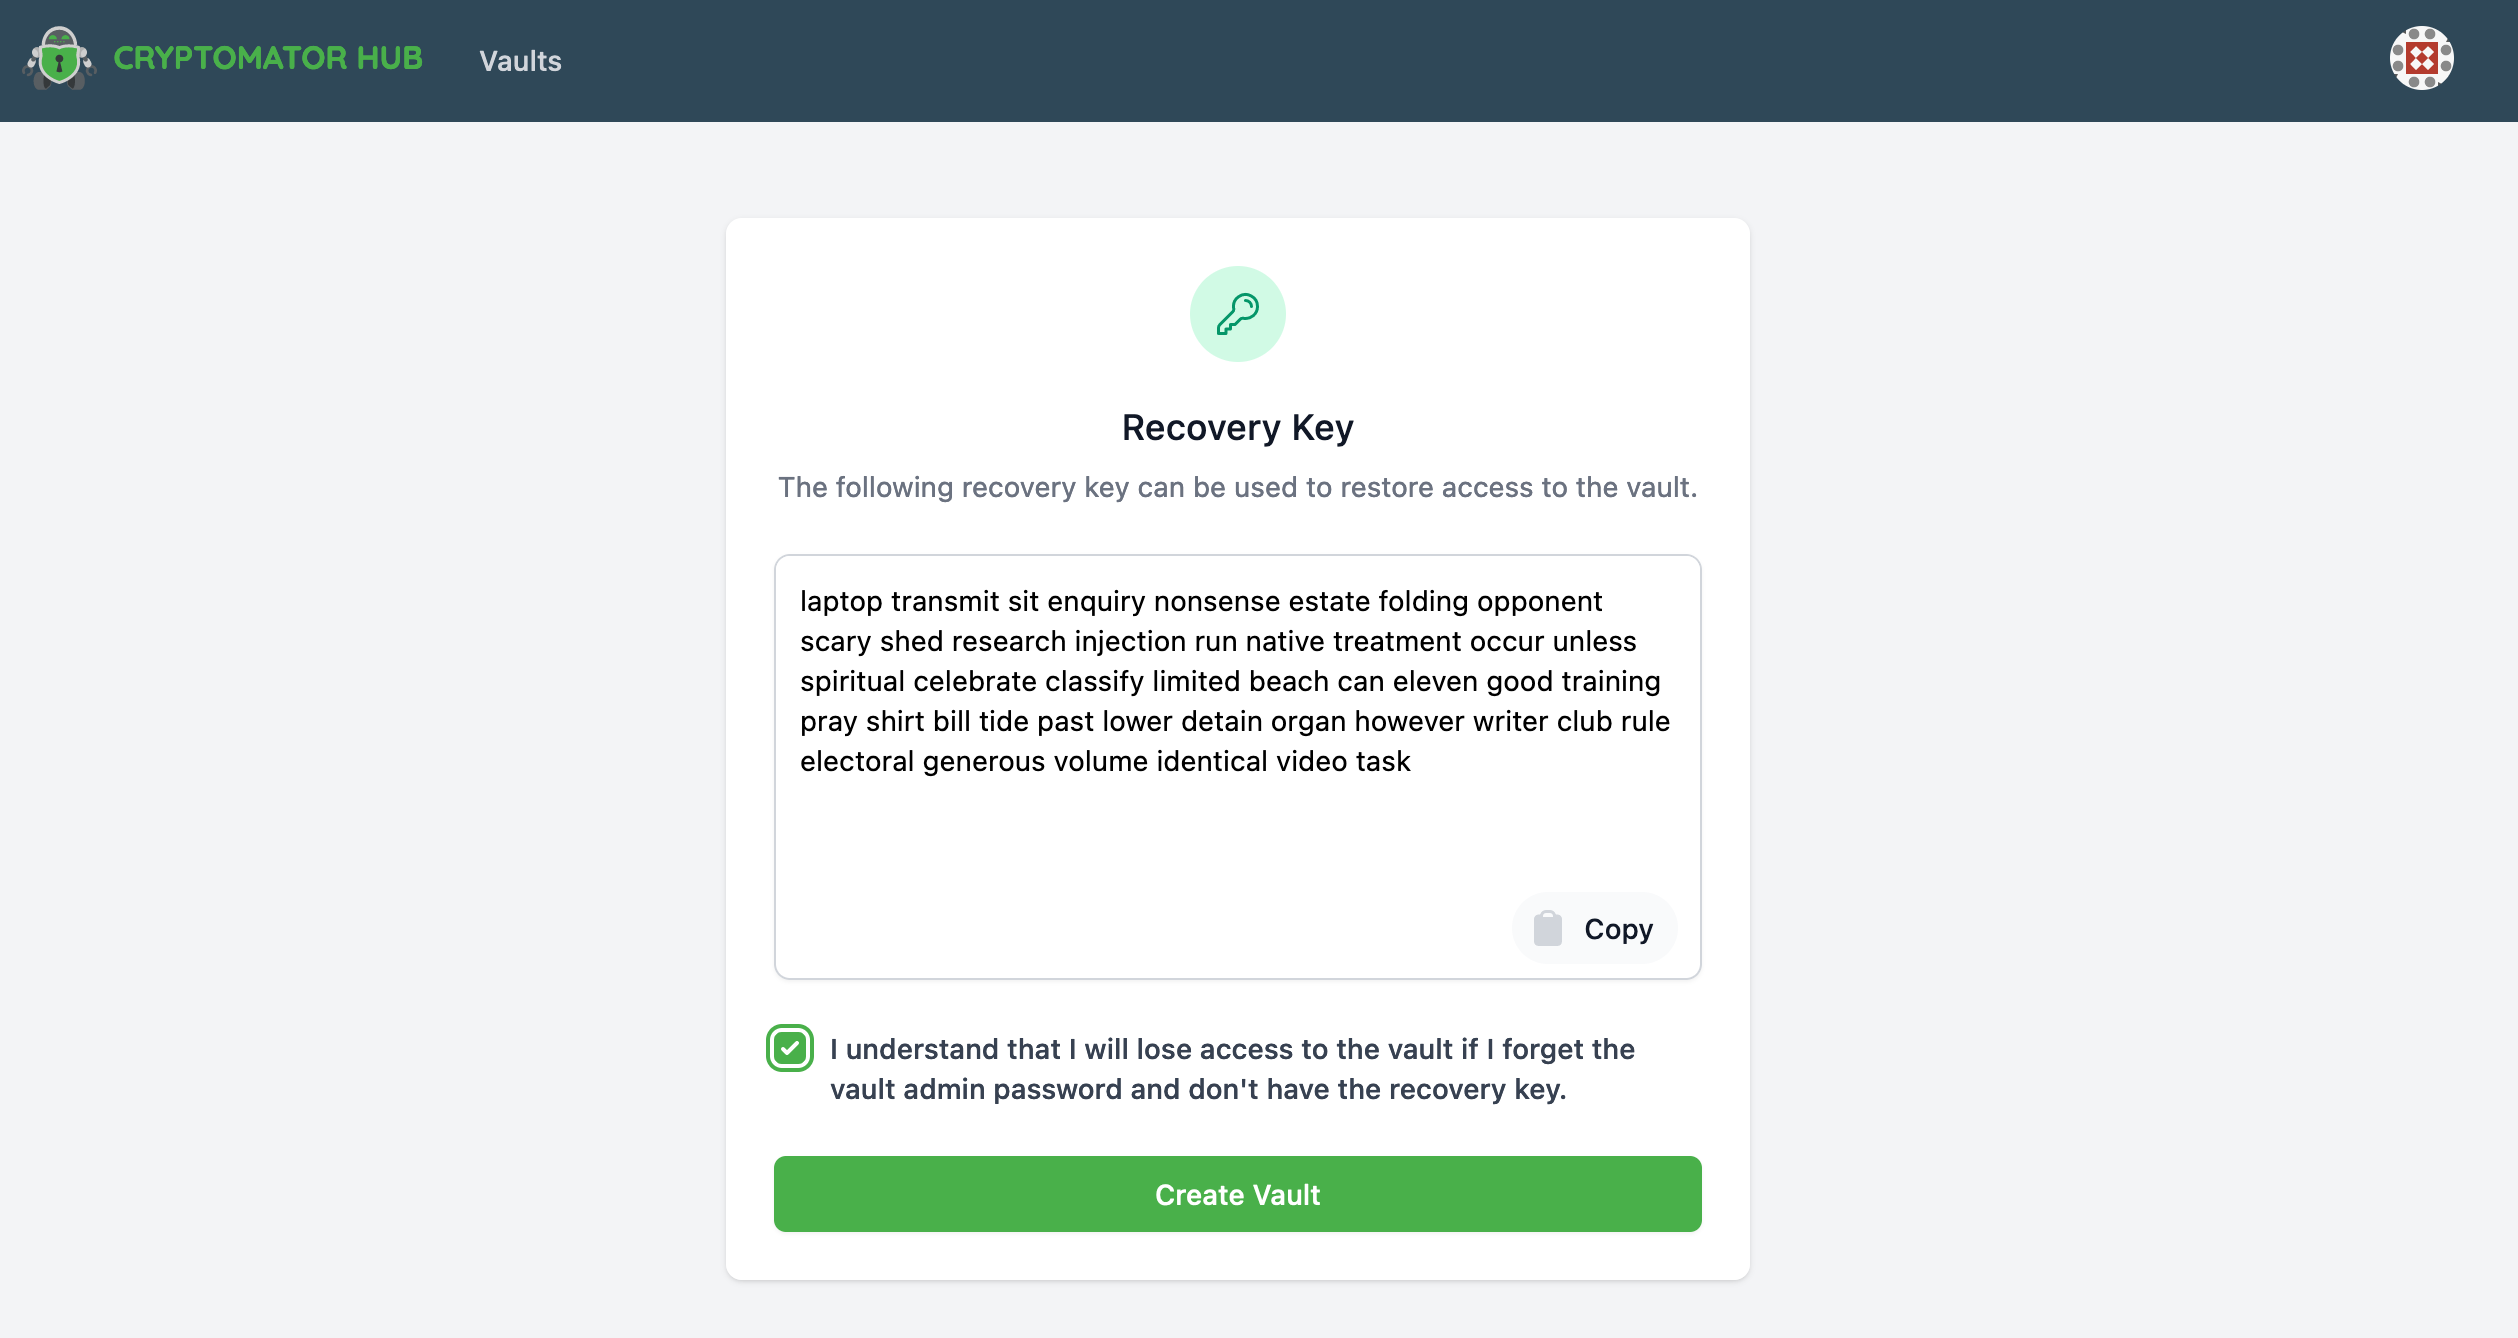
A recovery key is displayed on the page. Copy the recovery key and store it in a safe location (e.g. password management system like Bitwarden or Keepass). The recocery key is needed for restoring access to the vault data. Tick the checkbox and click “Create Vault”.
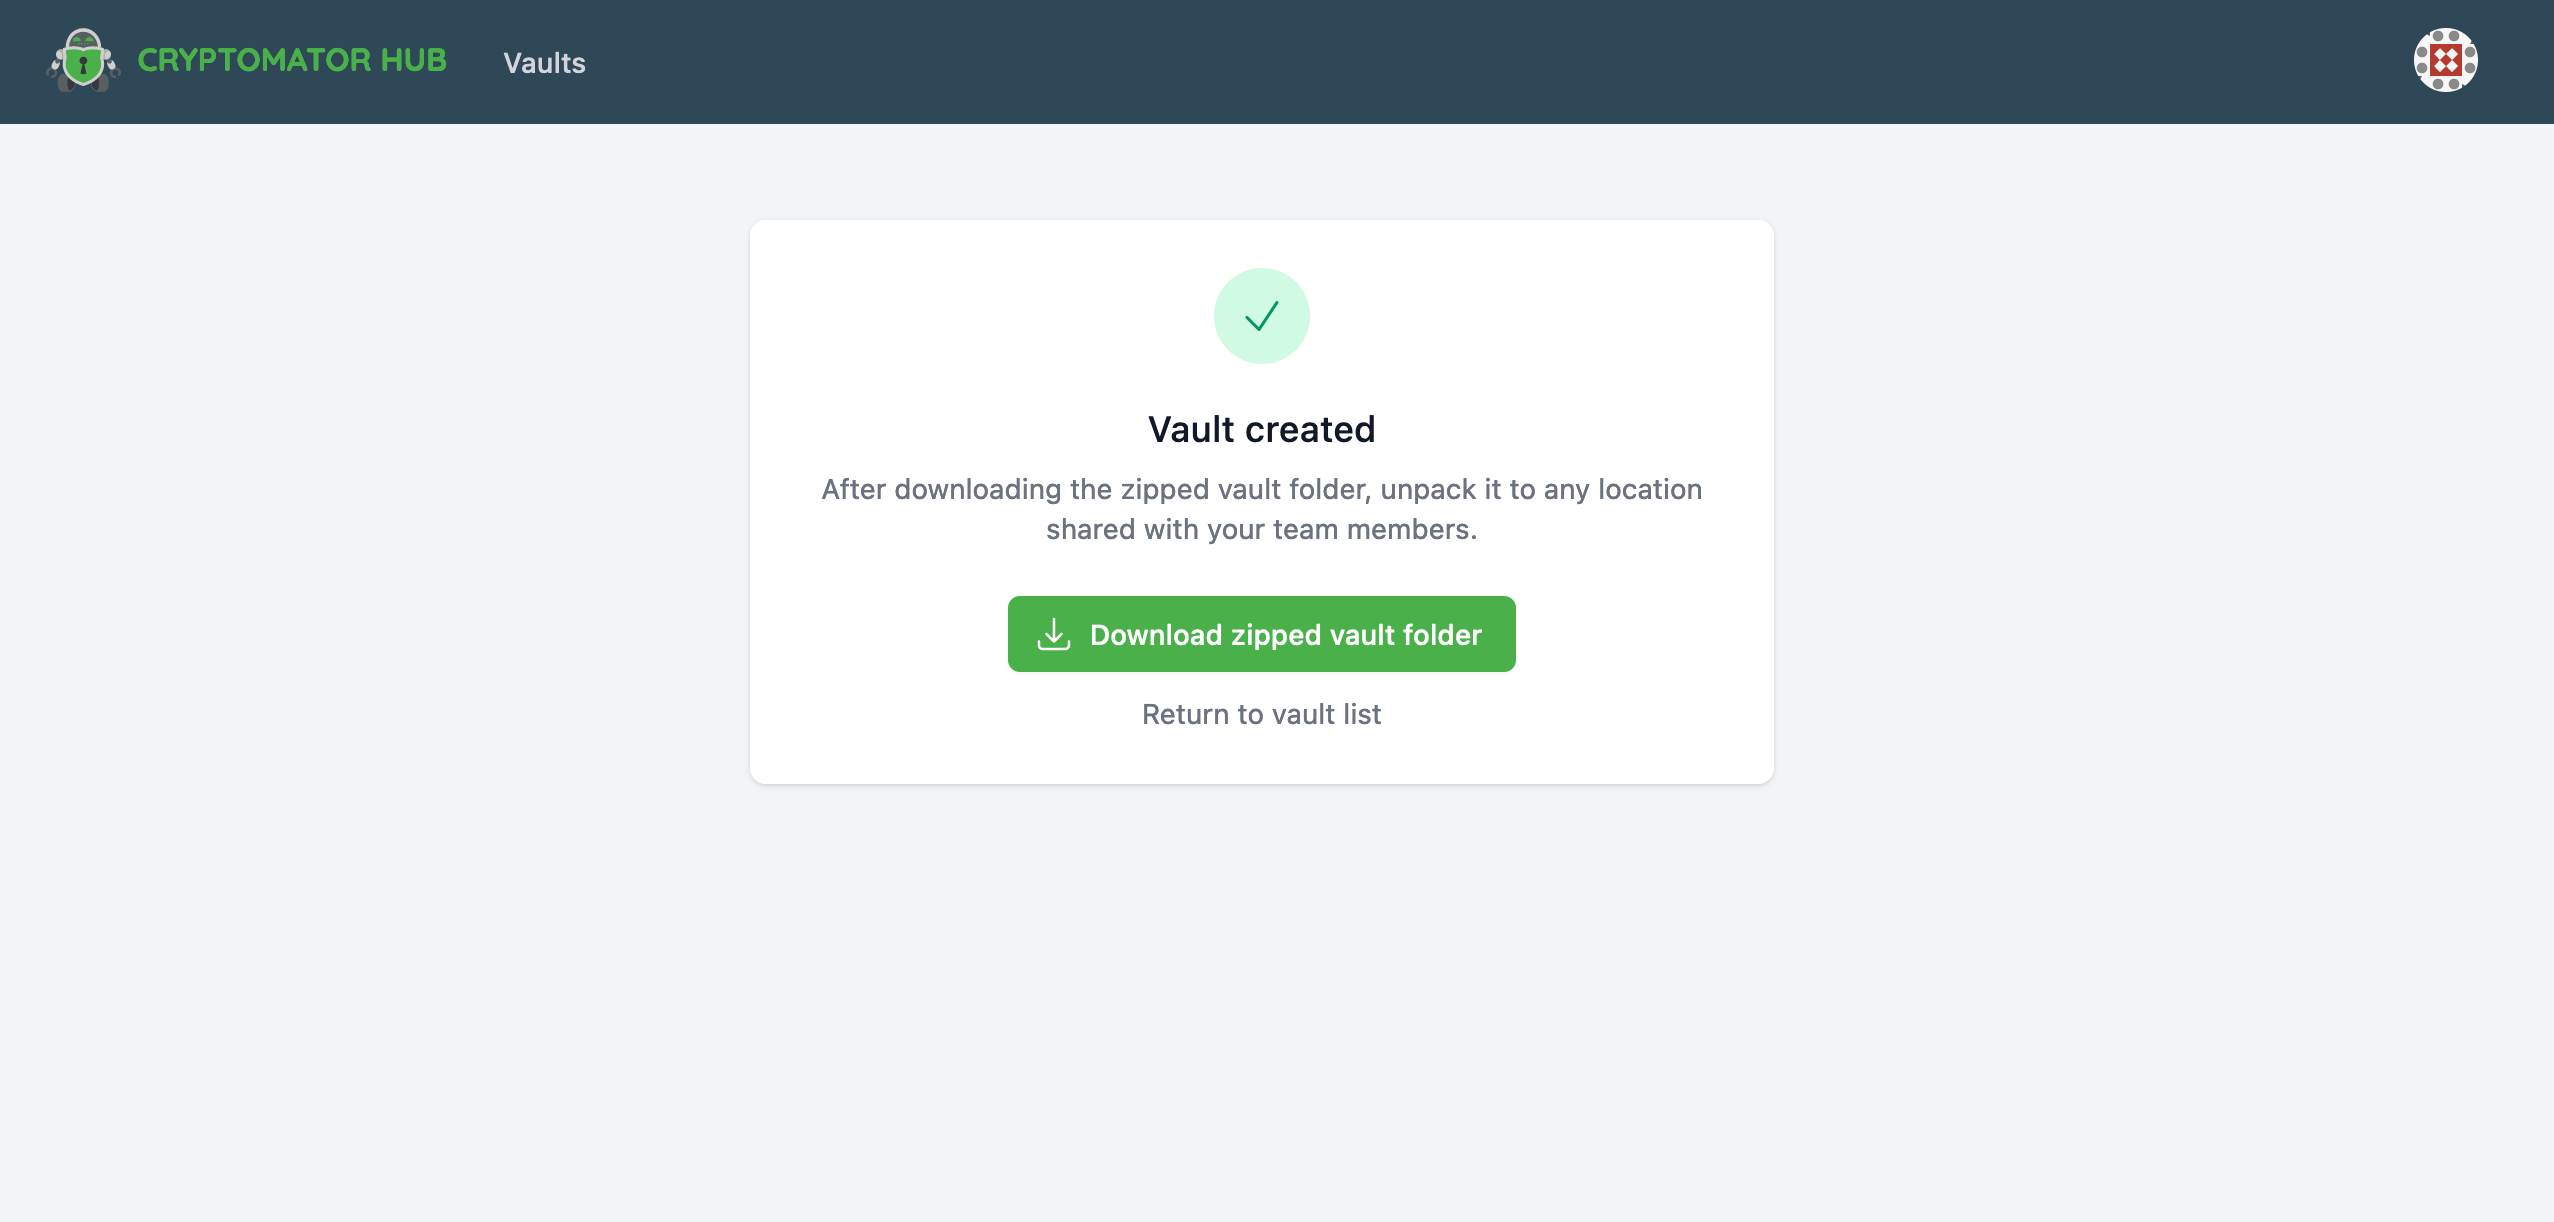
The vault has now been successfully created from the Hub. You can now mount the vault to your desired cloud storage location by clicking “download zipped vault folder”.
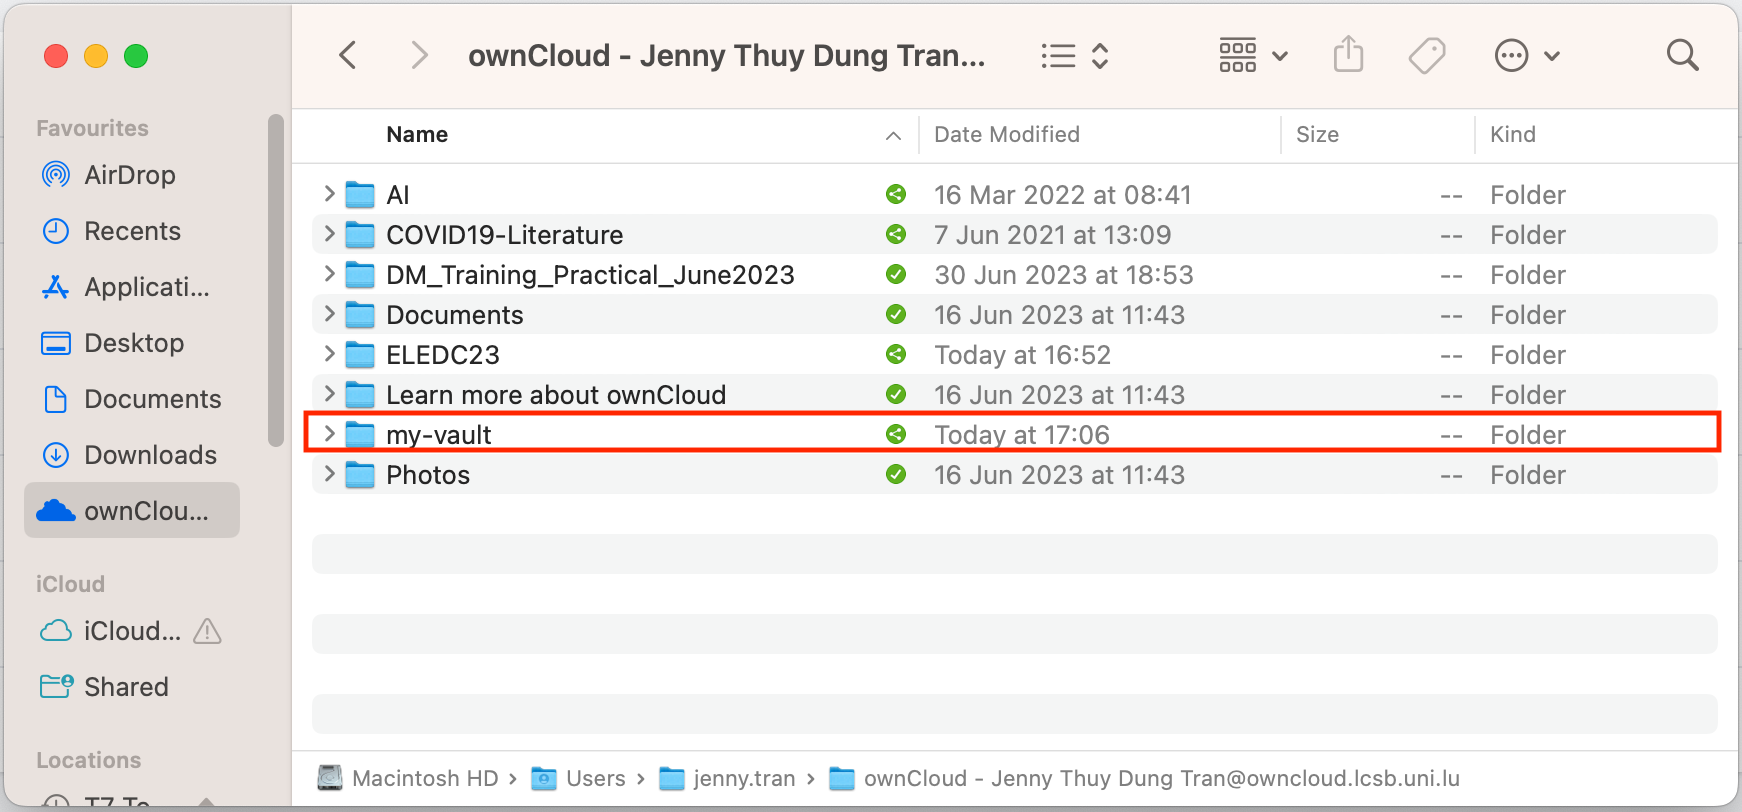
Unzip the vault in a shared folder on the cloud (e.g. ownCloud or OneDrive).
Data can now be ingested into the vault, which automatically will be encrypted by Cryptomator.
Vault management#
The following steps shows how to share a vault with other people and can only be performed by the vault administrator.
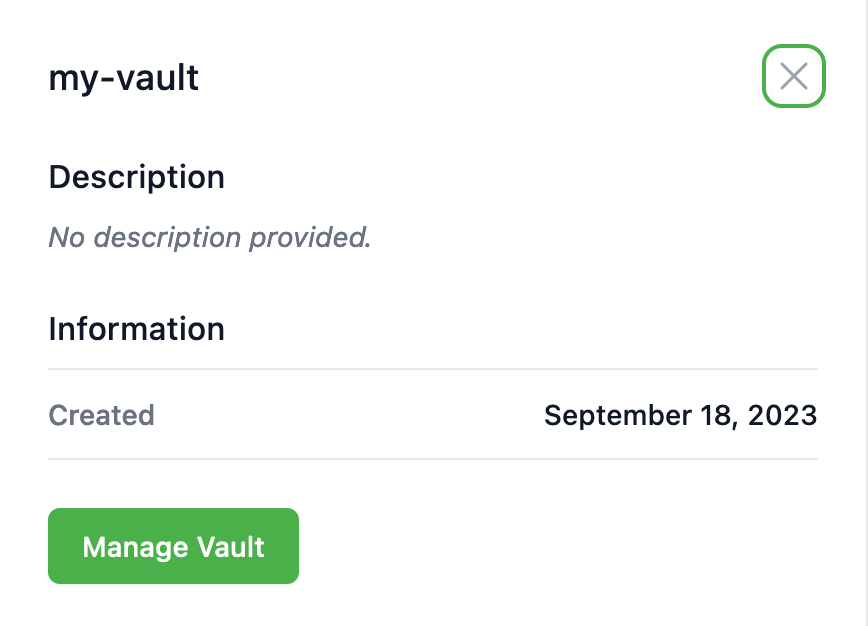
From the Hub’s main page, click on the vault you wish to share and then “Manage vault”.
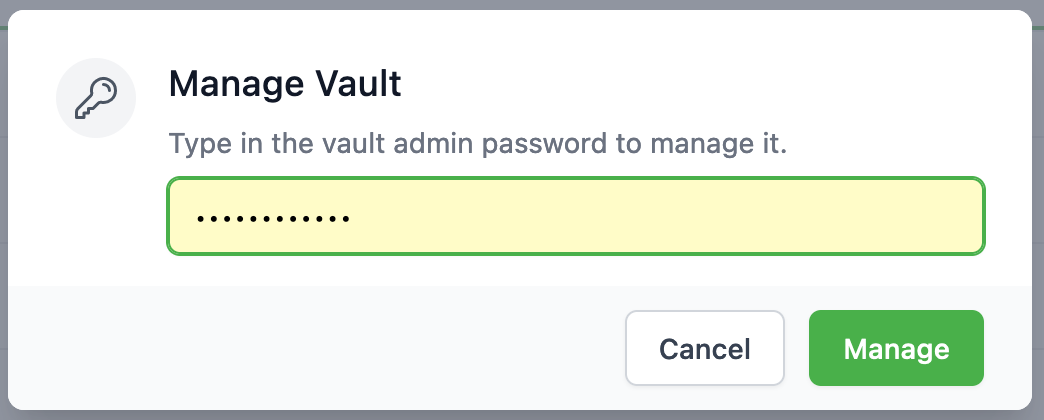
Enter the vault admin password and click “Manage”.
You are now able to share the vault with other team members by simply searching for the user and clicking the “add” button.

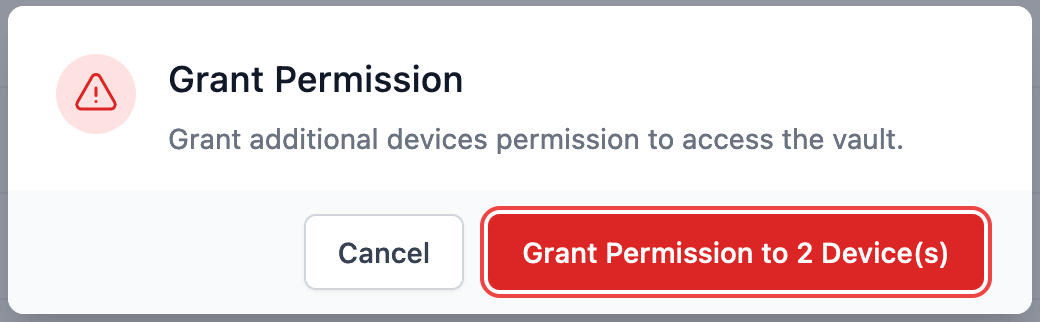
Before the user can access your vault, the user has to register the vault to the user’s local device (see section “Collaborating on a shared vault). Only then can the vault administrator grant permission by clicking on “update permission”.
Collaborating on a shared vault#
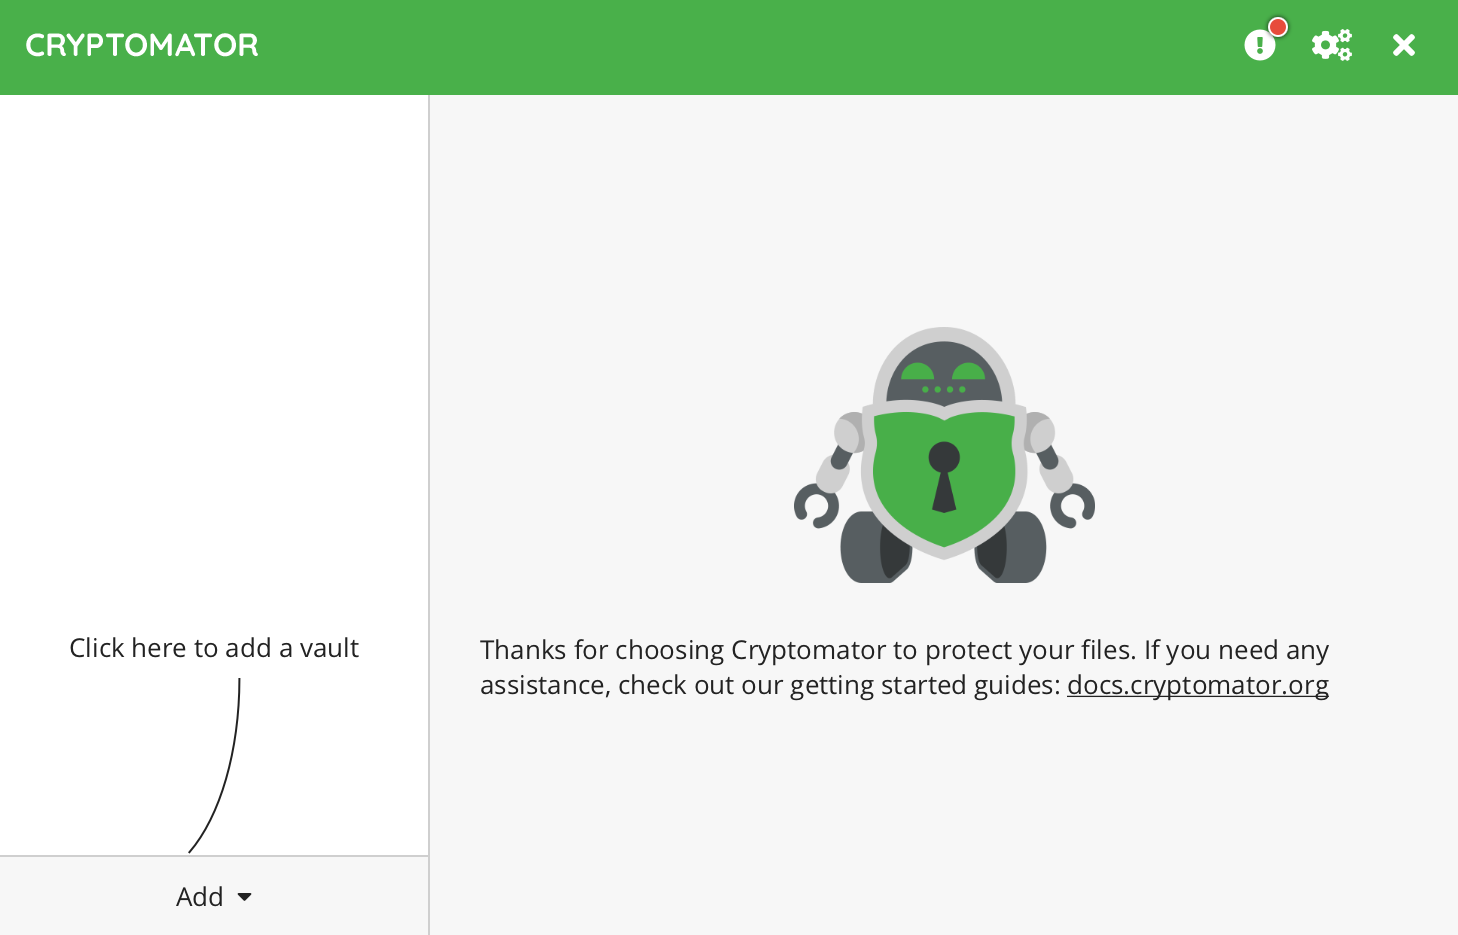
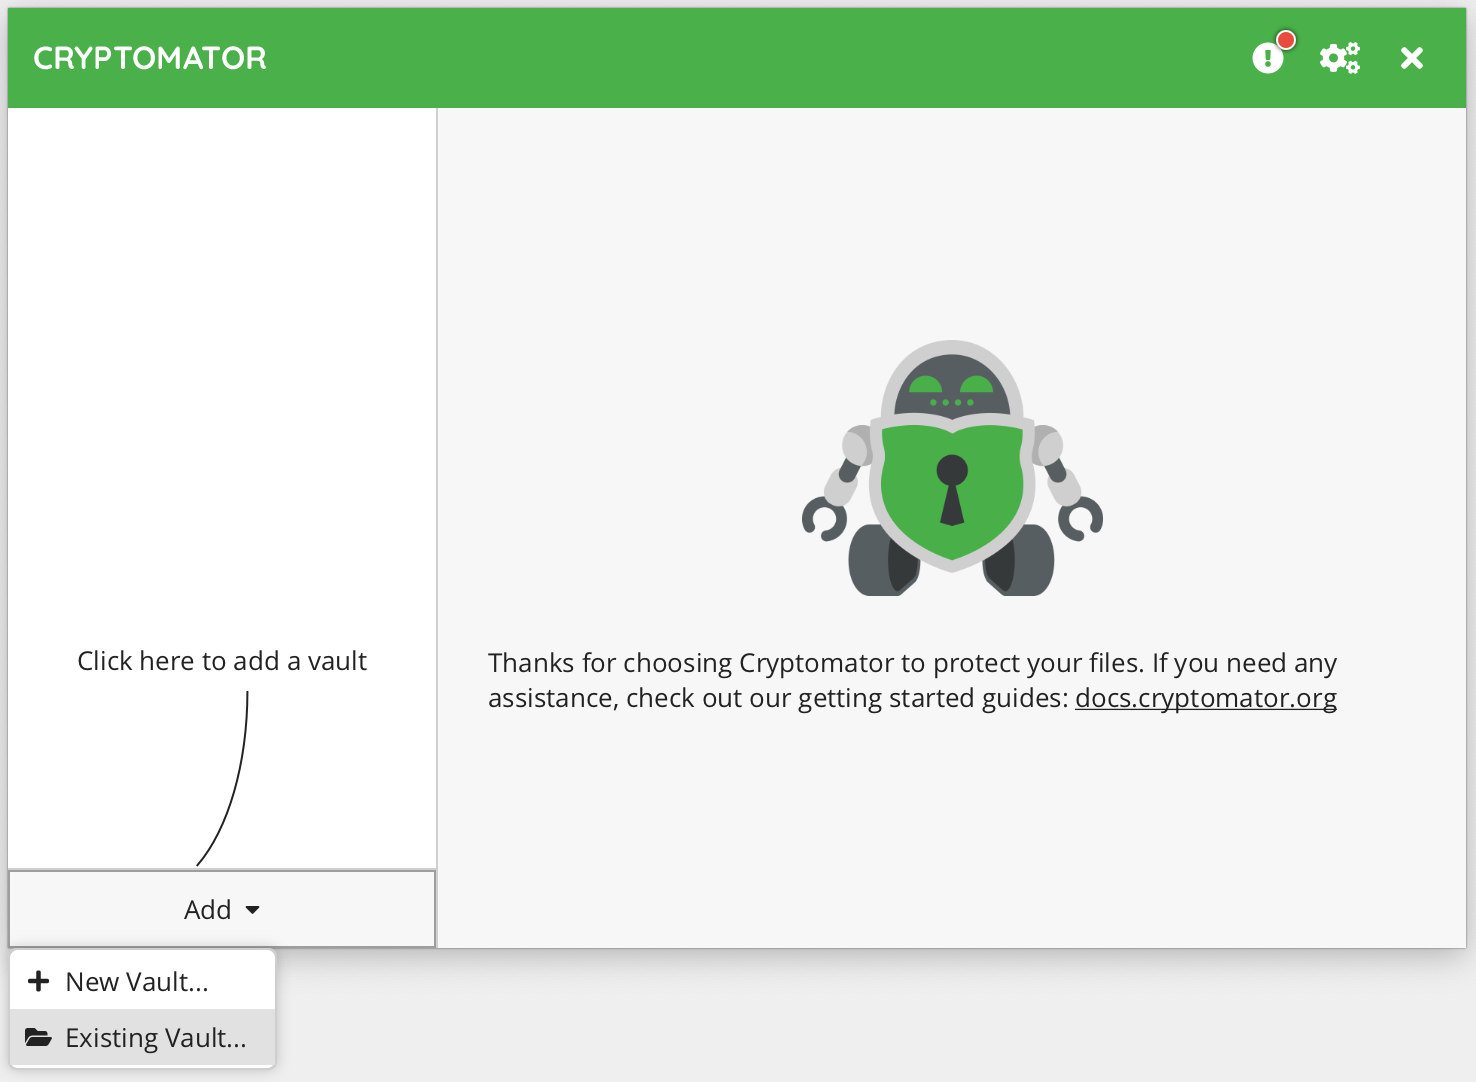
Open the desktop application. Click the “add’ button and then “Existing vault”.
Click on “Choose”.
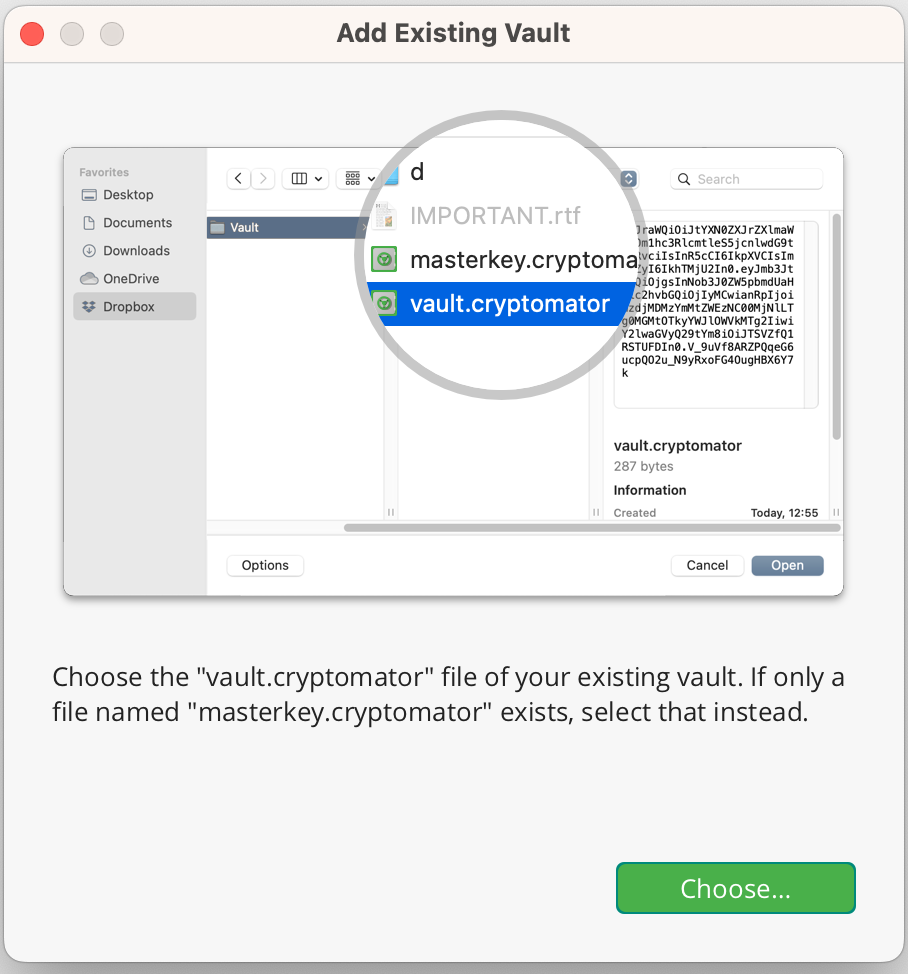
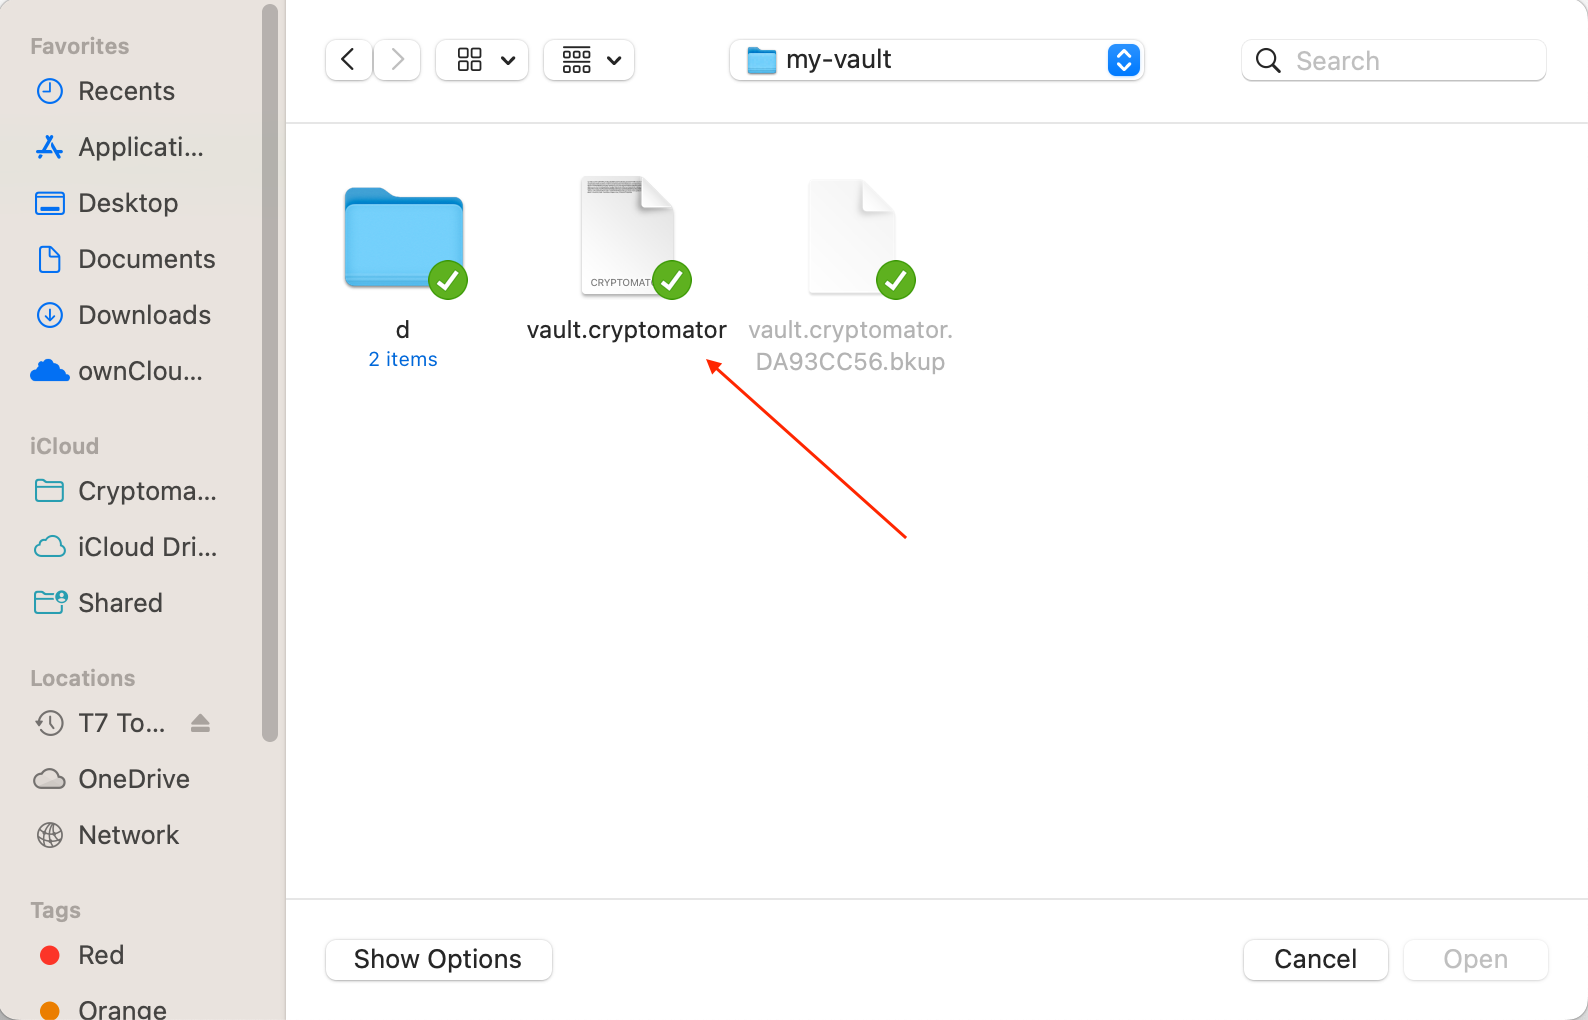
Go to the shared folder on the cloud. Select the file “vault.cryptomator” and then “Open”.
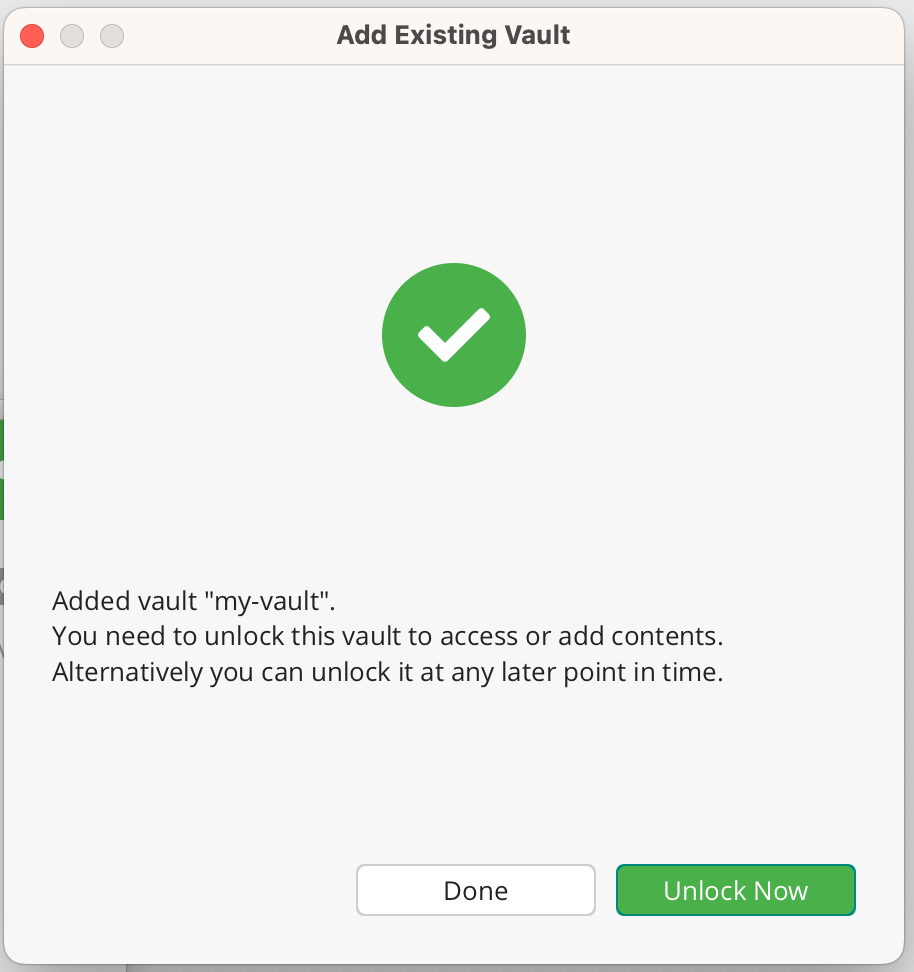
Click “Unlock now”.
Cryptomator will automatically redirect you to a login page. Please authenticate yourself with Keycloak.
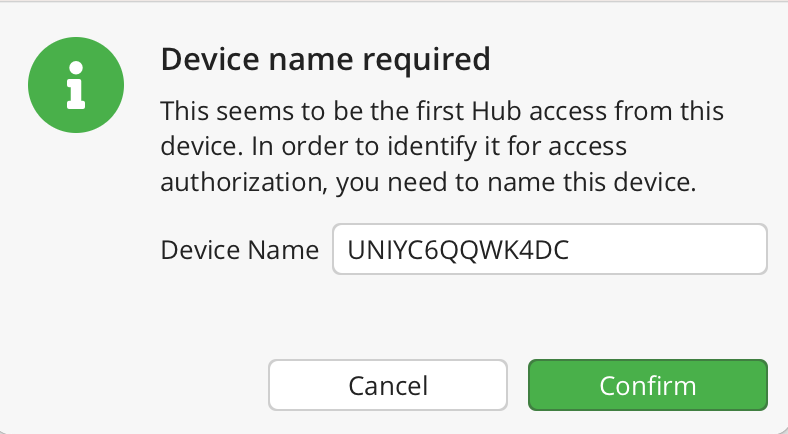
If it is the first time you connect your device to the shared vault, you have to register the device. In this case, you will be prompt to enter a device name and then click “Confirm”. The admin must grant access to the device before proceeding.
Once the admin has granted access, you can unlock the vault by clicking “Reveal drive”.
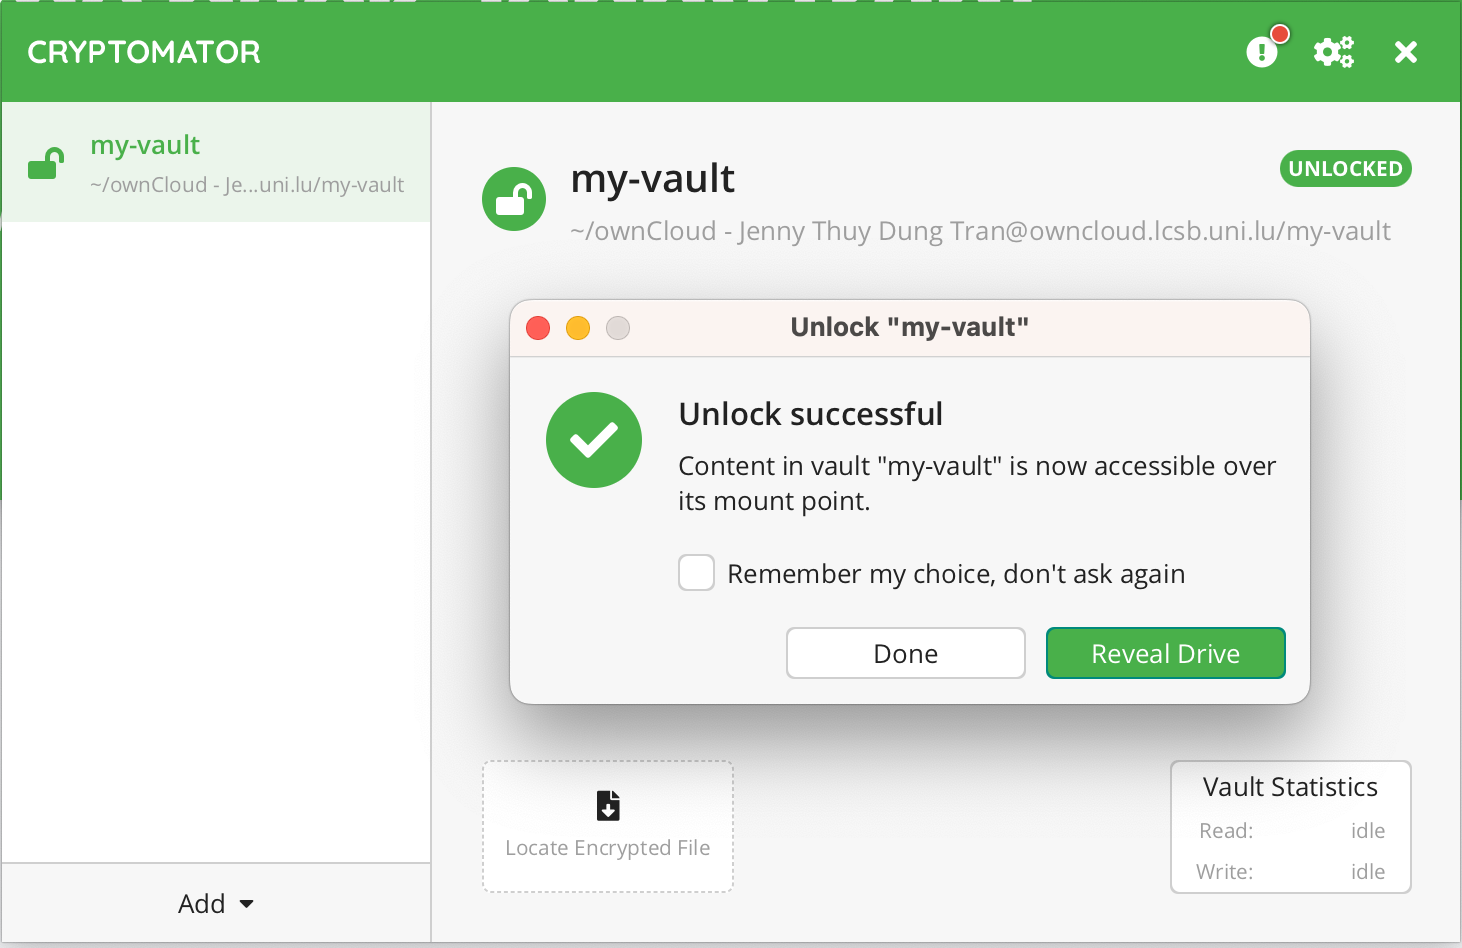
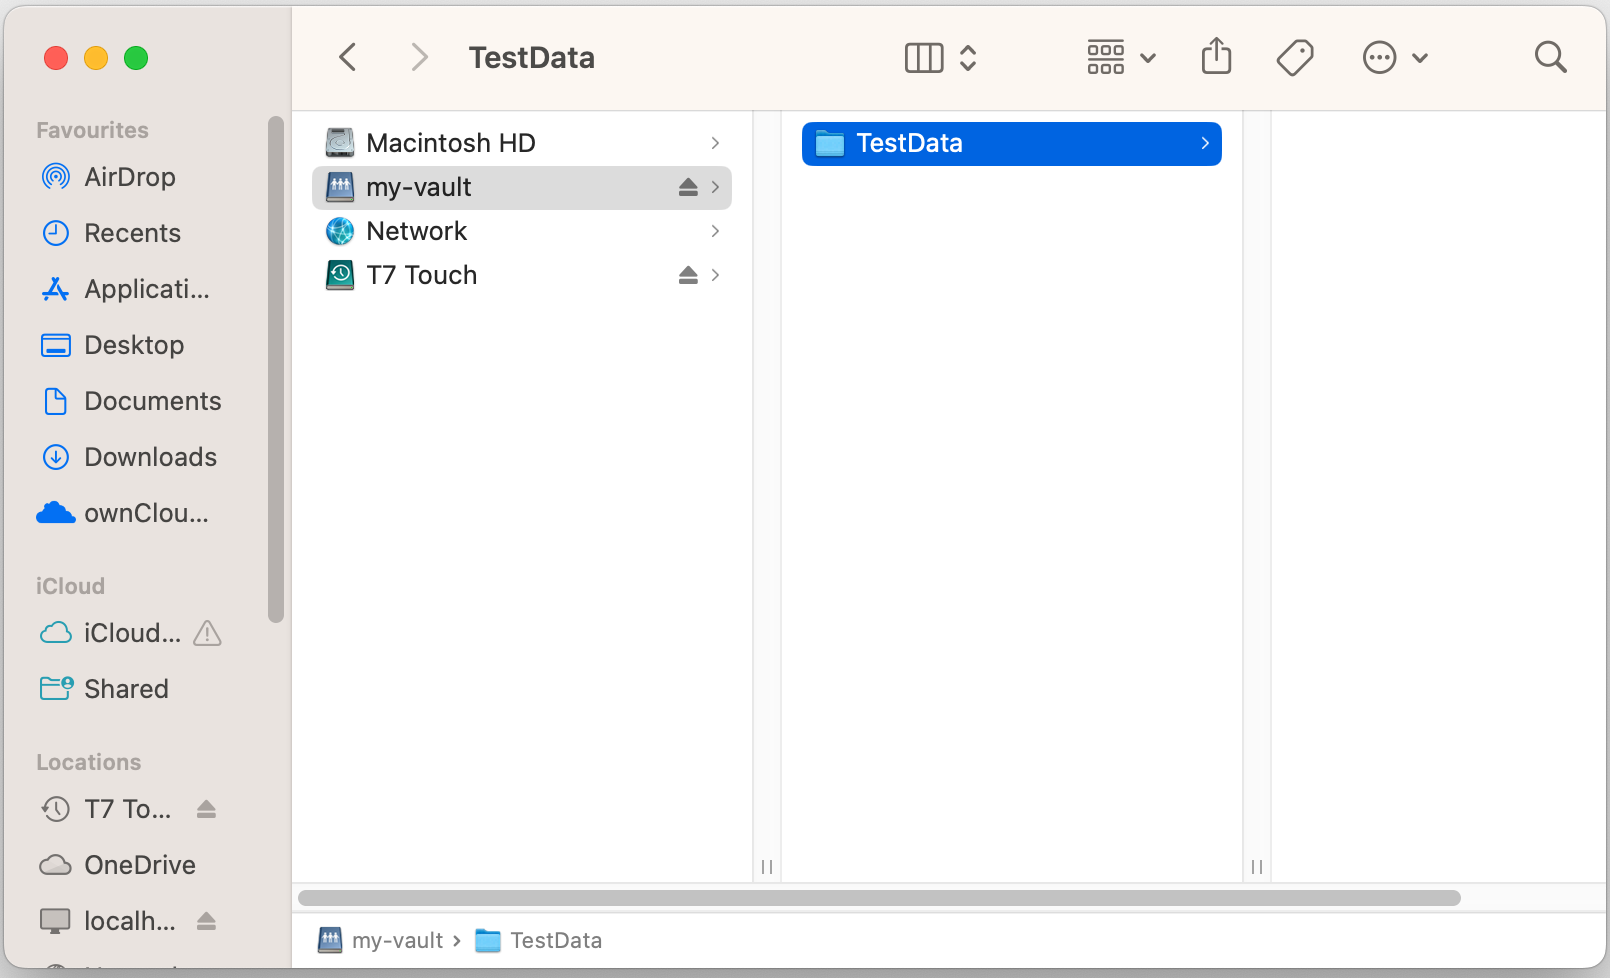
You can now view decrypted data and save files in the vault on the virtual drive.
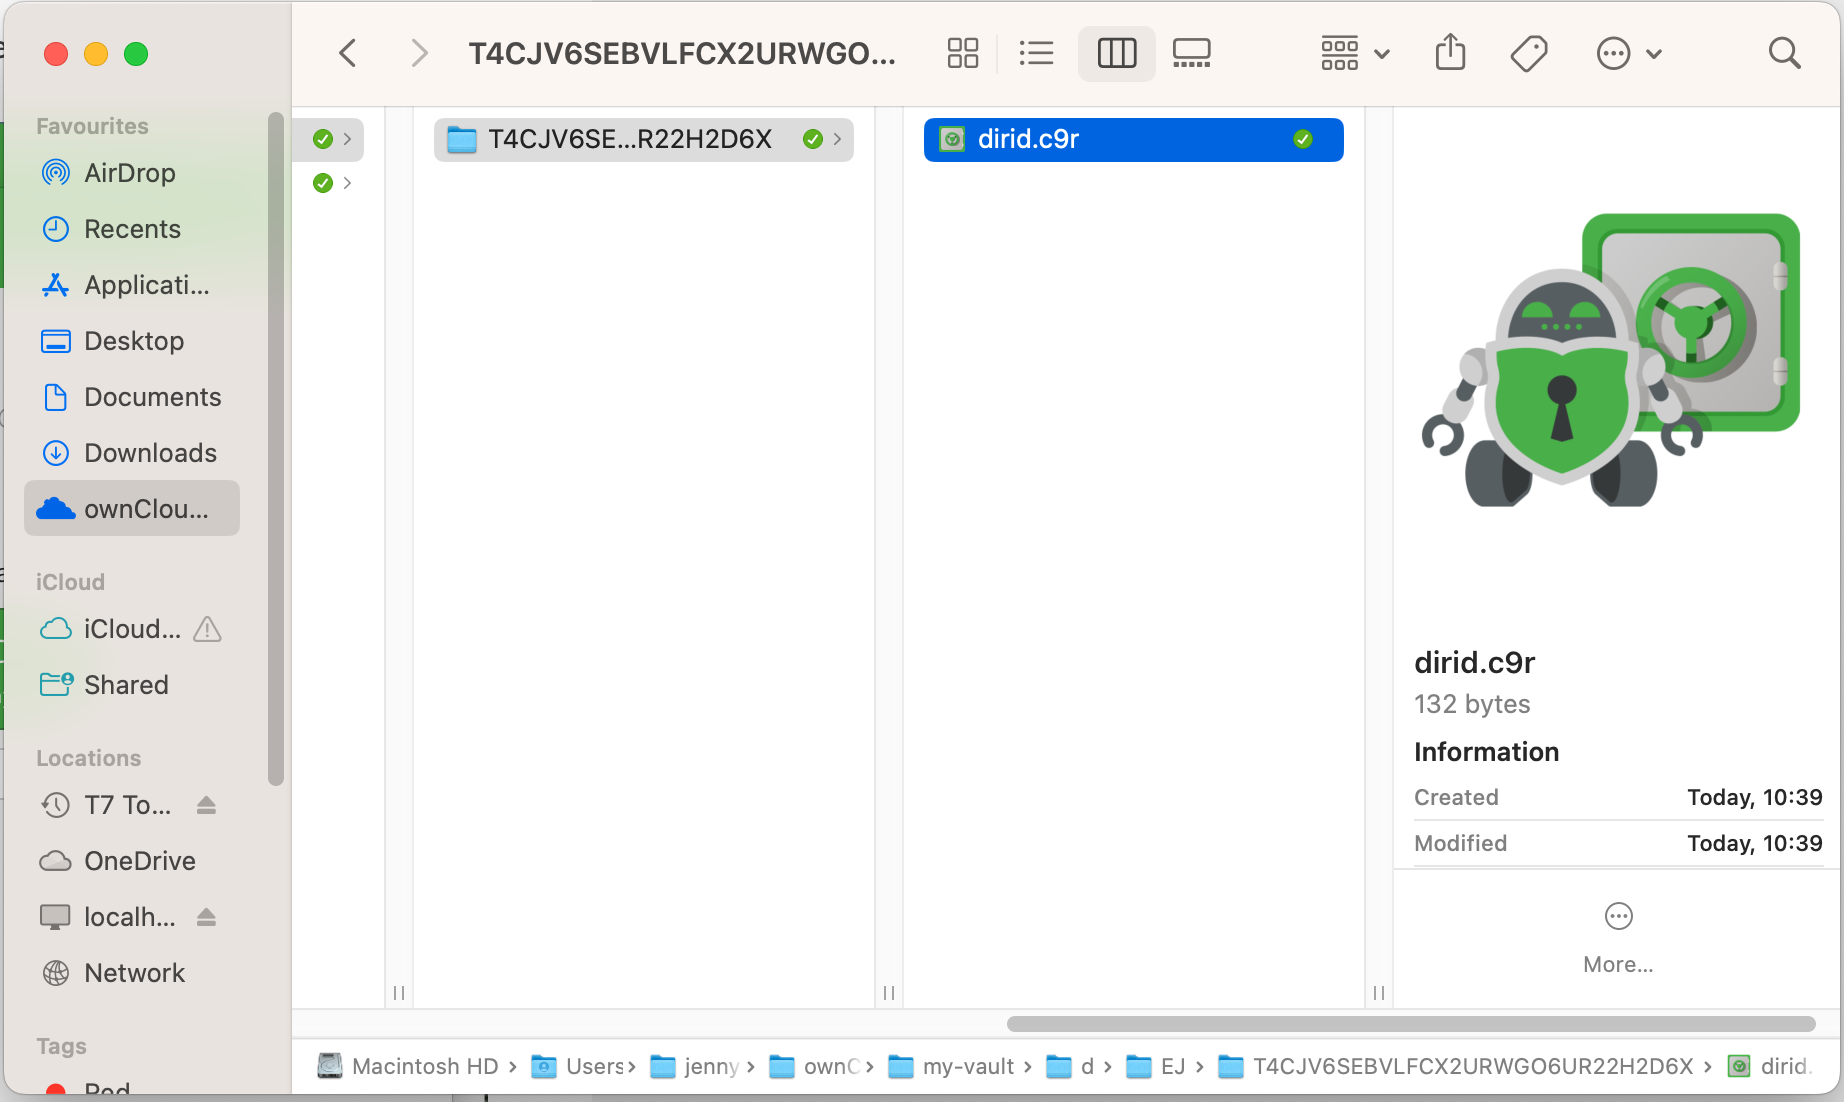
The cloud cannot see anything in the folder, as all data is encrypted - both folder/file name and files.
Note: Always ingest the files directly into the vault on the virtual drive, as it will be encrypted and stored properly. If the file is ingested directly in the folder of the cloud storage location, it will not get encrypted by Cryptomator!