Contribute to a git project using Gitlab Web IDE#
This card shows how to use GitLab Web IDE to update a git project that uses the GitLab workflow with a develop branch.
Before you start, please make sure that you have the correct access rights to edit the repository.
Note: If you do not have the rights to edit the repository, you can either ask for permissions by contacting
the repository maintainers, or use your own copy of the repository (called a fork).
Please follow these instructions to
obtain your copy (fork).
Select the development version (branch)#
Before making changes, please follow the instructions in the README.md file. This file contains important information about the project contribution guidelines. Often, a standard development scheme is followed. Usually, there is a master branch (referred to as the stable version of the repository) and a develop branch (the unstable development version of the repository). There can also be lots of other branches (versions) in the same repository. In most of the cases you would like to add your changes on top of develop branch that contains the latest version. In order to select the development version (develop branch), click on the drop-down menu on the top left of the page and select develop:
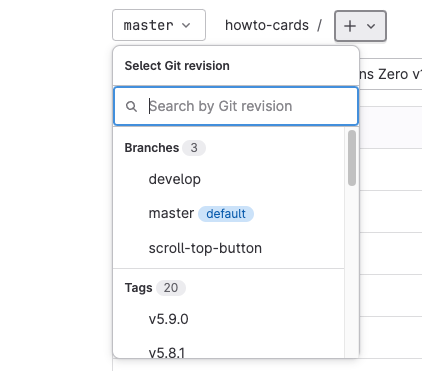
The page will refresh and show the repository contents on this branch. You can see that the develop branch has been selected.

Open the web editor (Web IDE)#
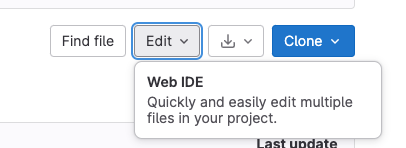
Now you can open the web editor (integrated development environment or IDE) by clicking on the Edit button and selecting Web IDE:
Now, you can make changes to the file you wish. As an example, we will change the file privacy_policy.md. Select the file privacy_policy.md from the list on the left.
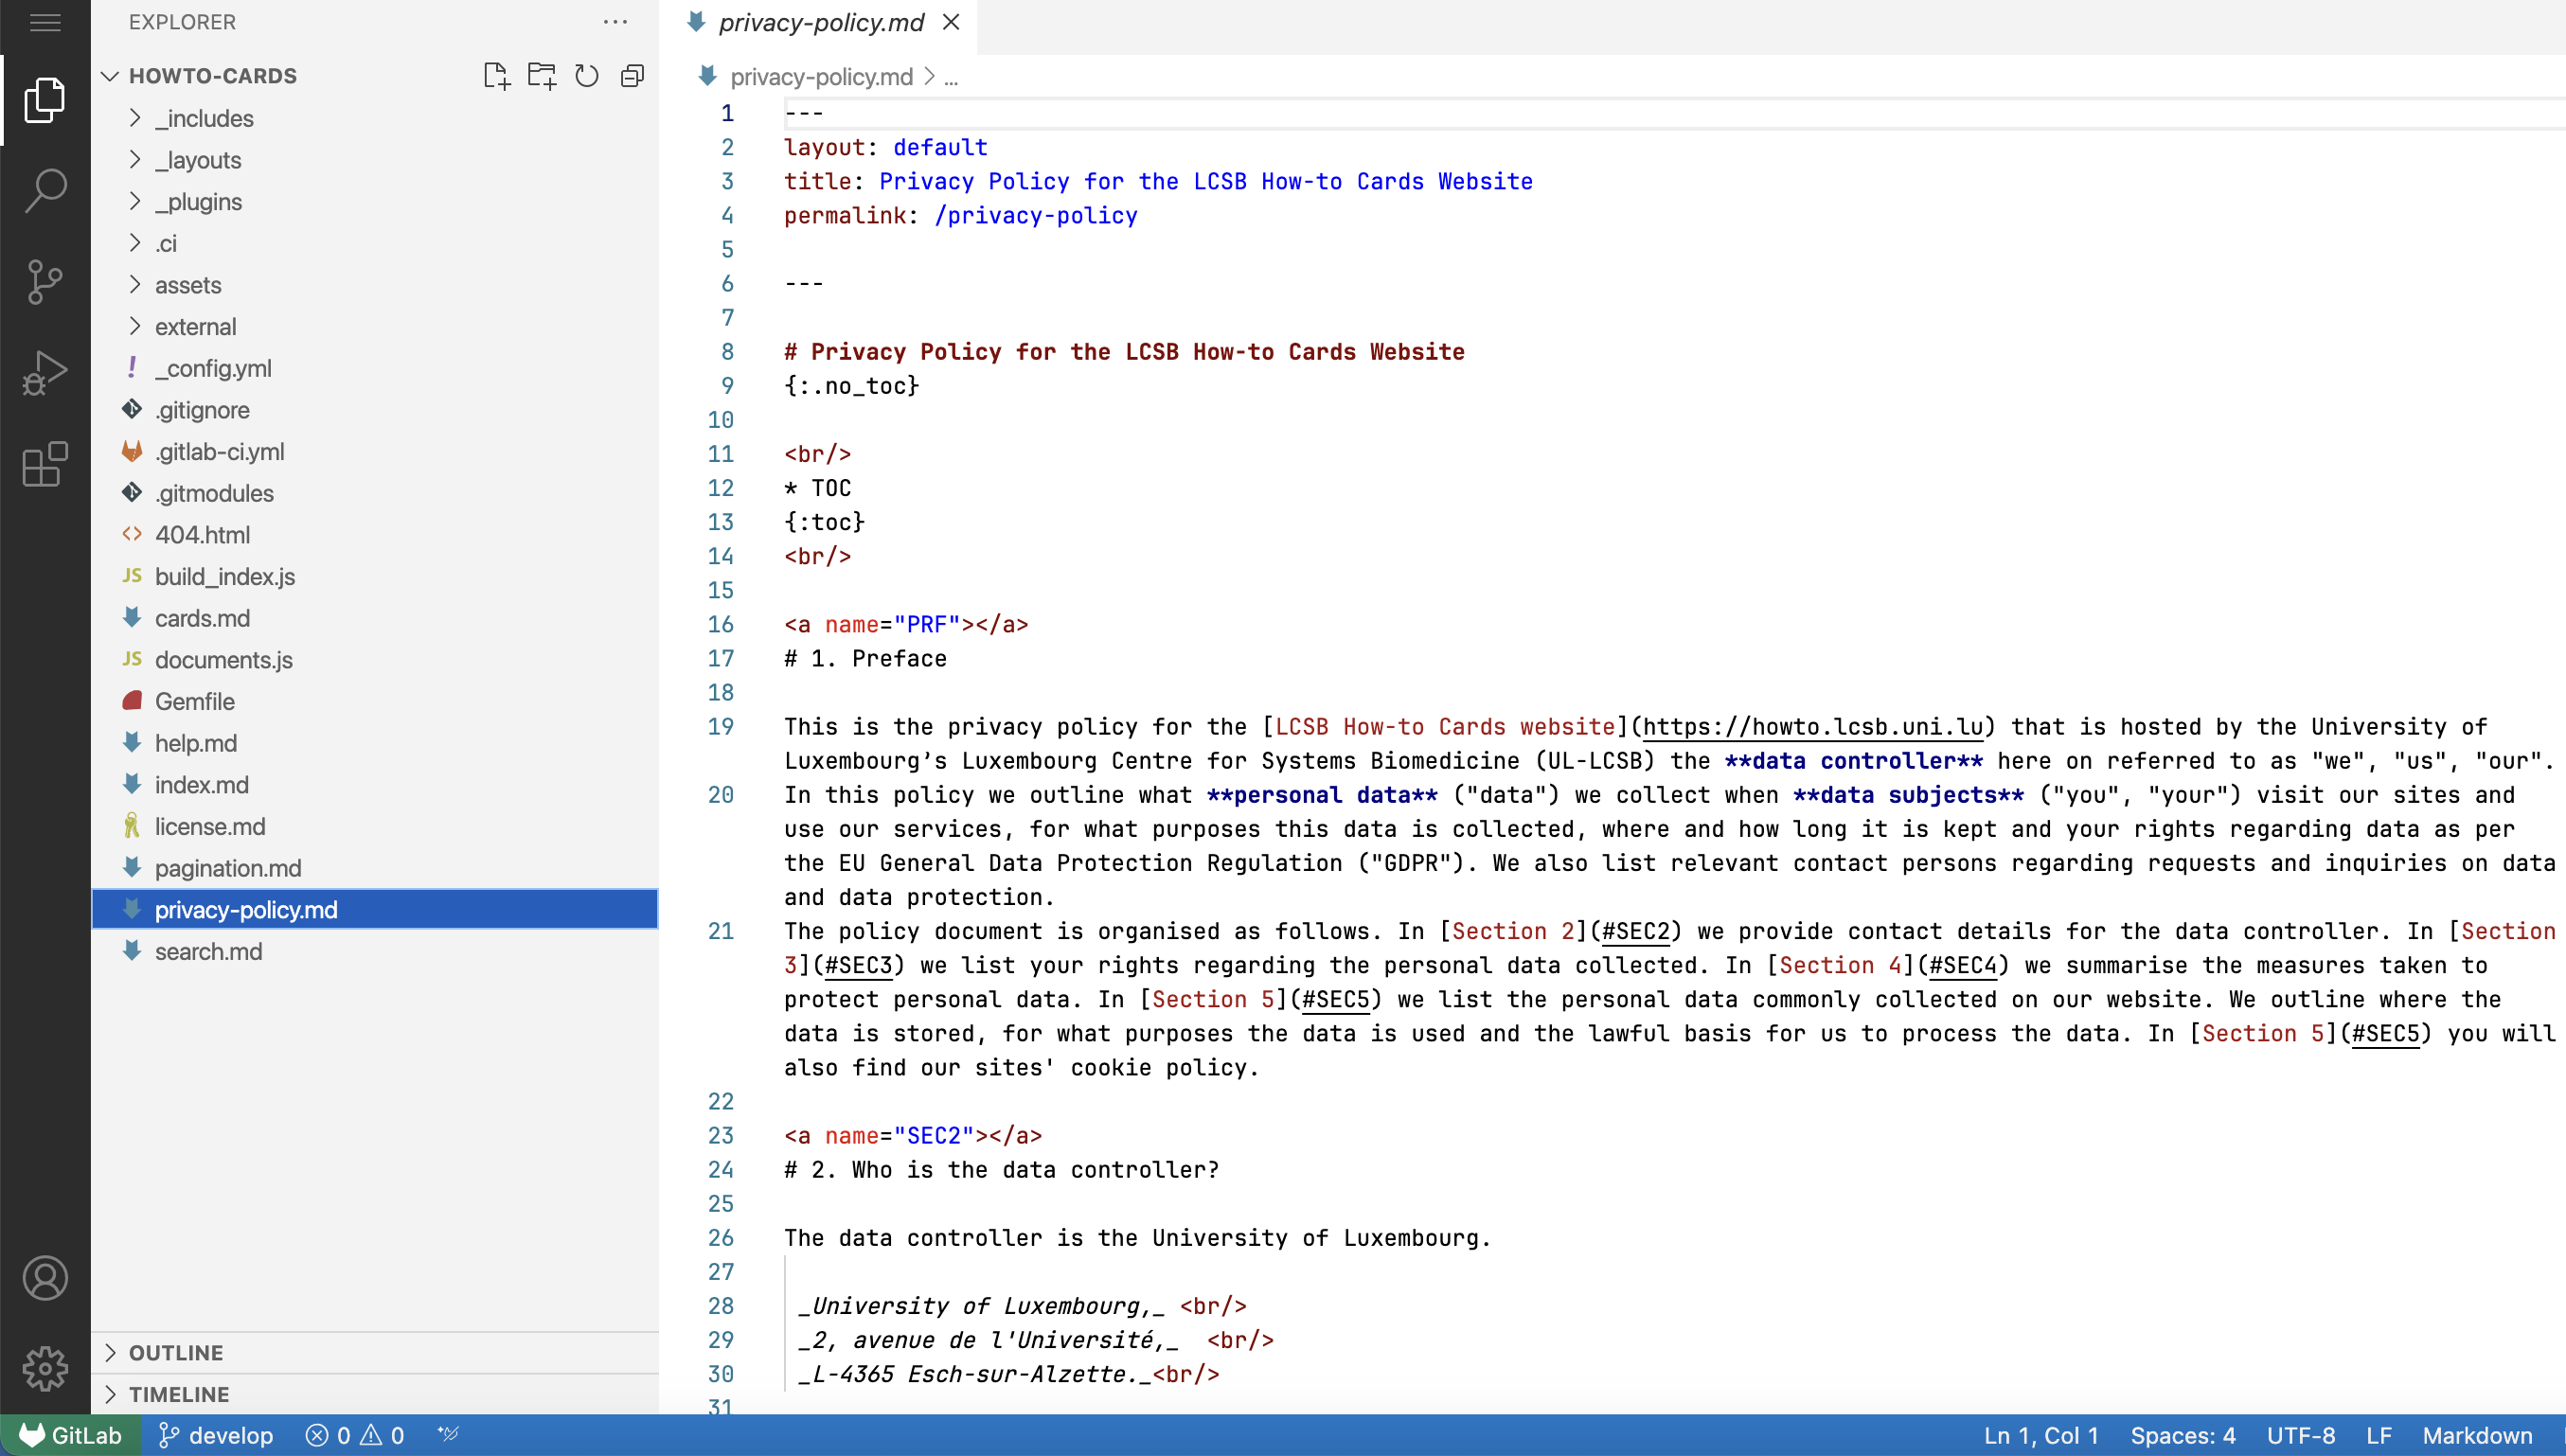
Now, edit the file the way you want. For instance, we added a line with test in the first section:
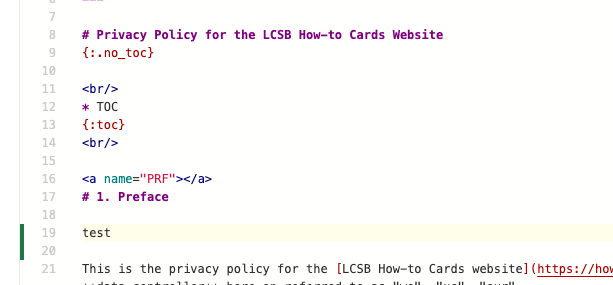
Note: You can see a green line on the left side of it, indicating that a new line has been added. The vertical line turns blue if a line is edited.

Committing your change#
Now, as you have edited the file, you can see that on the top left corner of the window, a circle with a number appeared on the Source Control button:
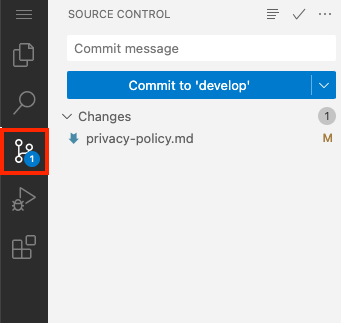
This number indicates how many files has been changed, how many modifications there are to be saved.
Note: There is no Save button. You save your work by committing changes.
To commit changes (save your modifications) click on Source Control button. It will open a commit dialog. Write a descriptive commit message to label the changes properly.
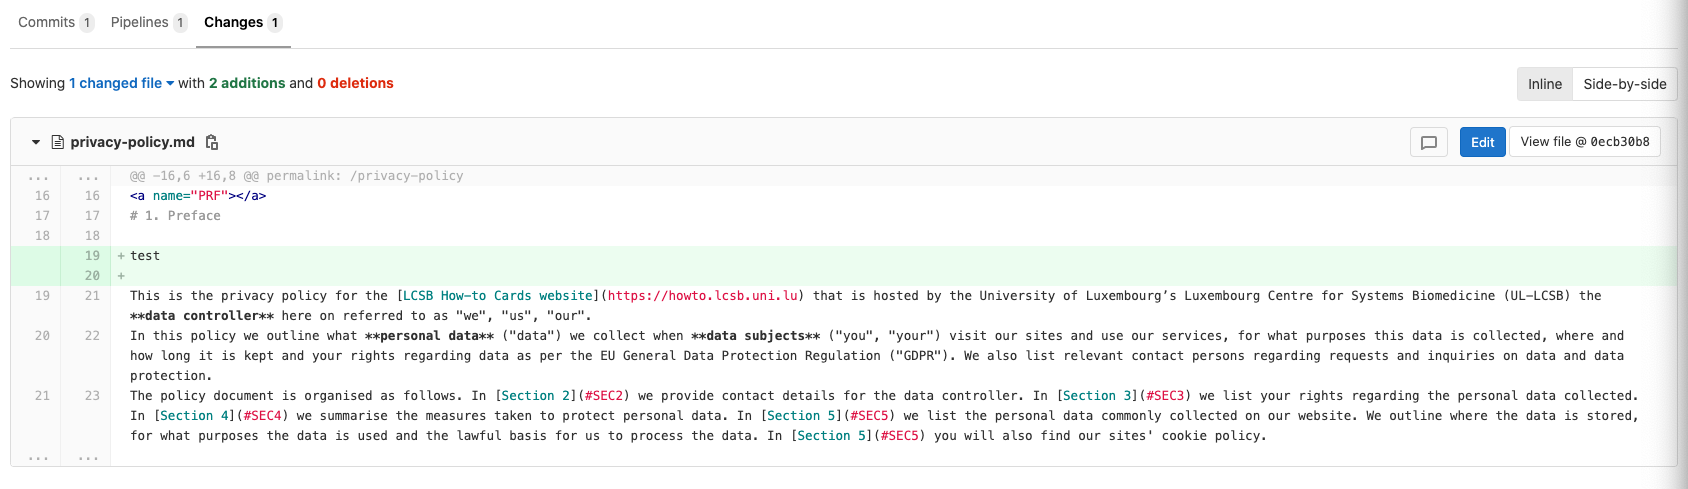
If you would like to see all changes made in a file, click on the file name to display the changes made:
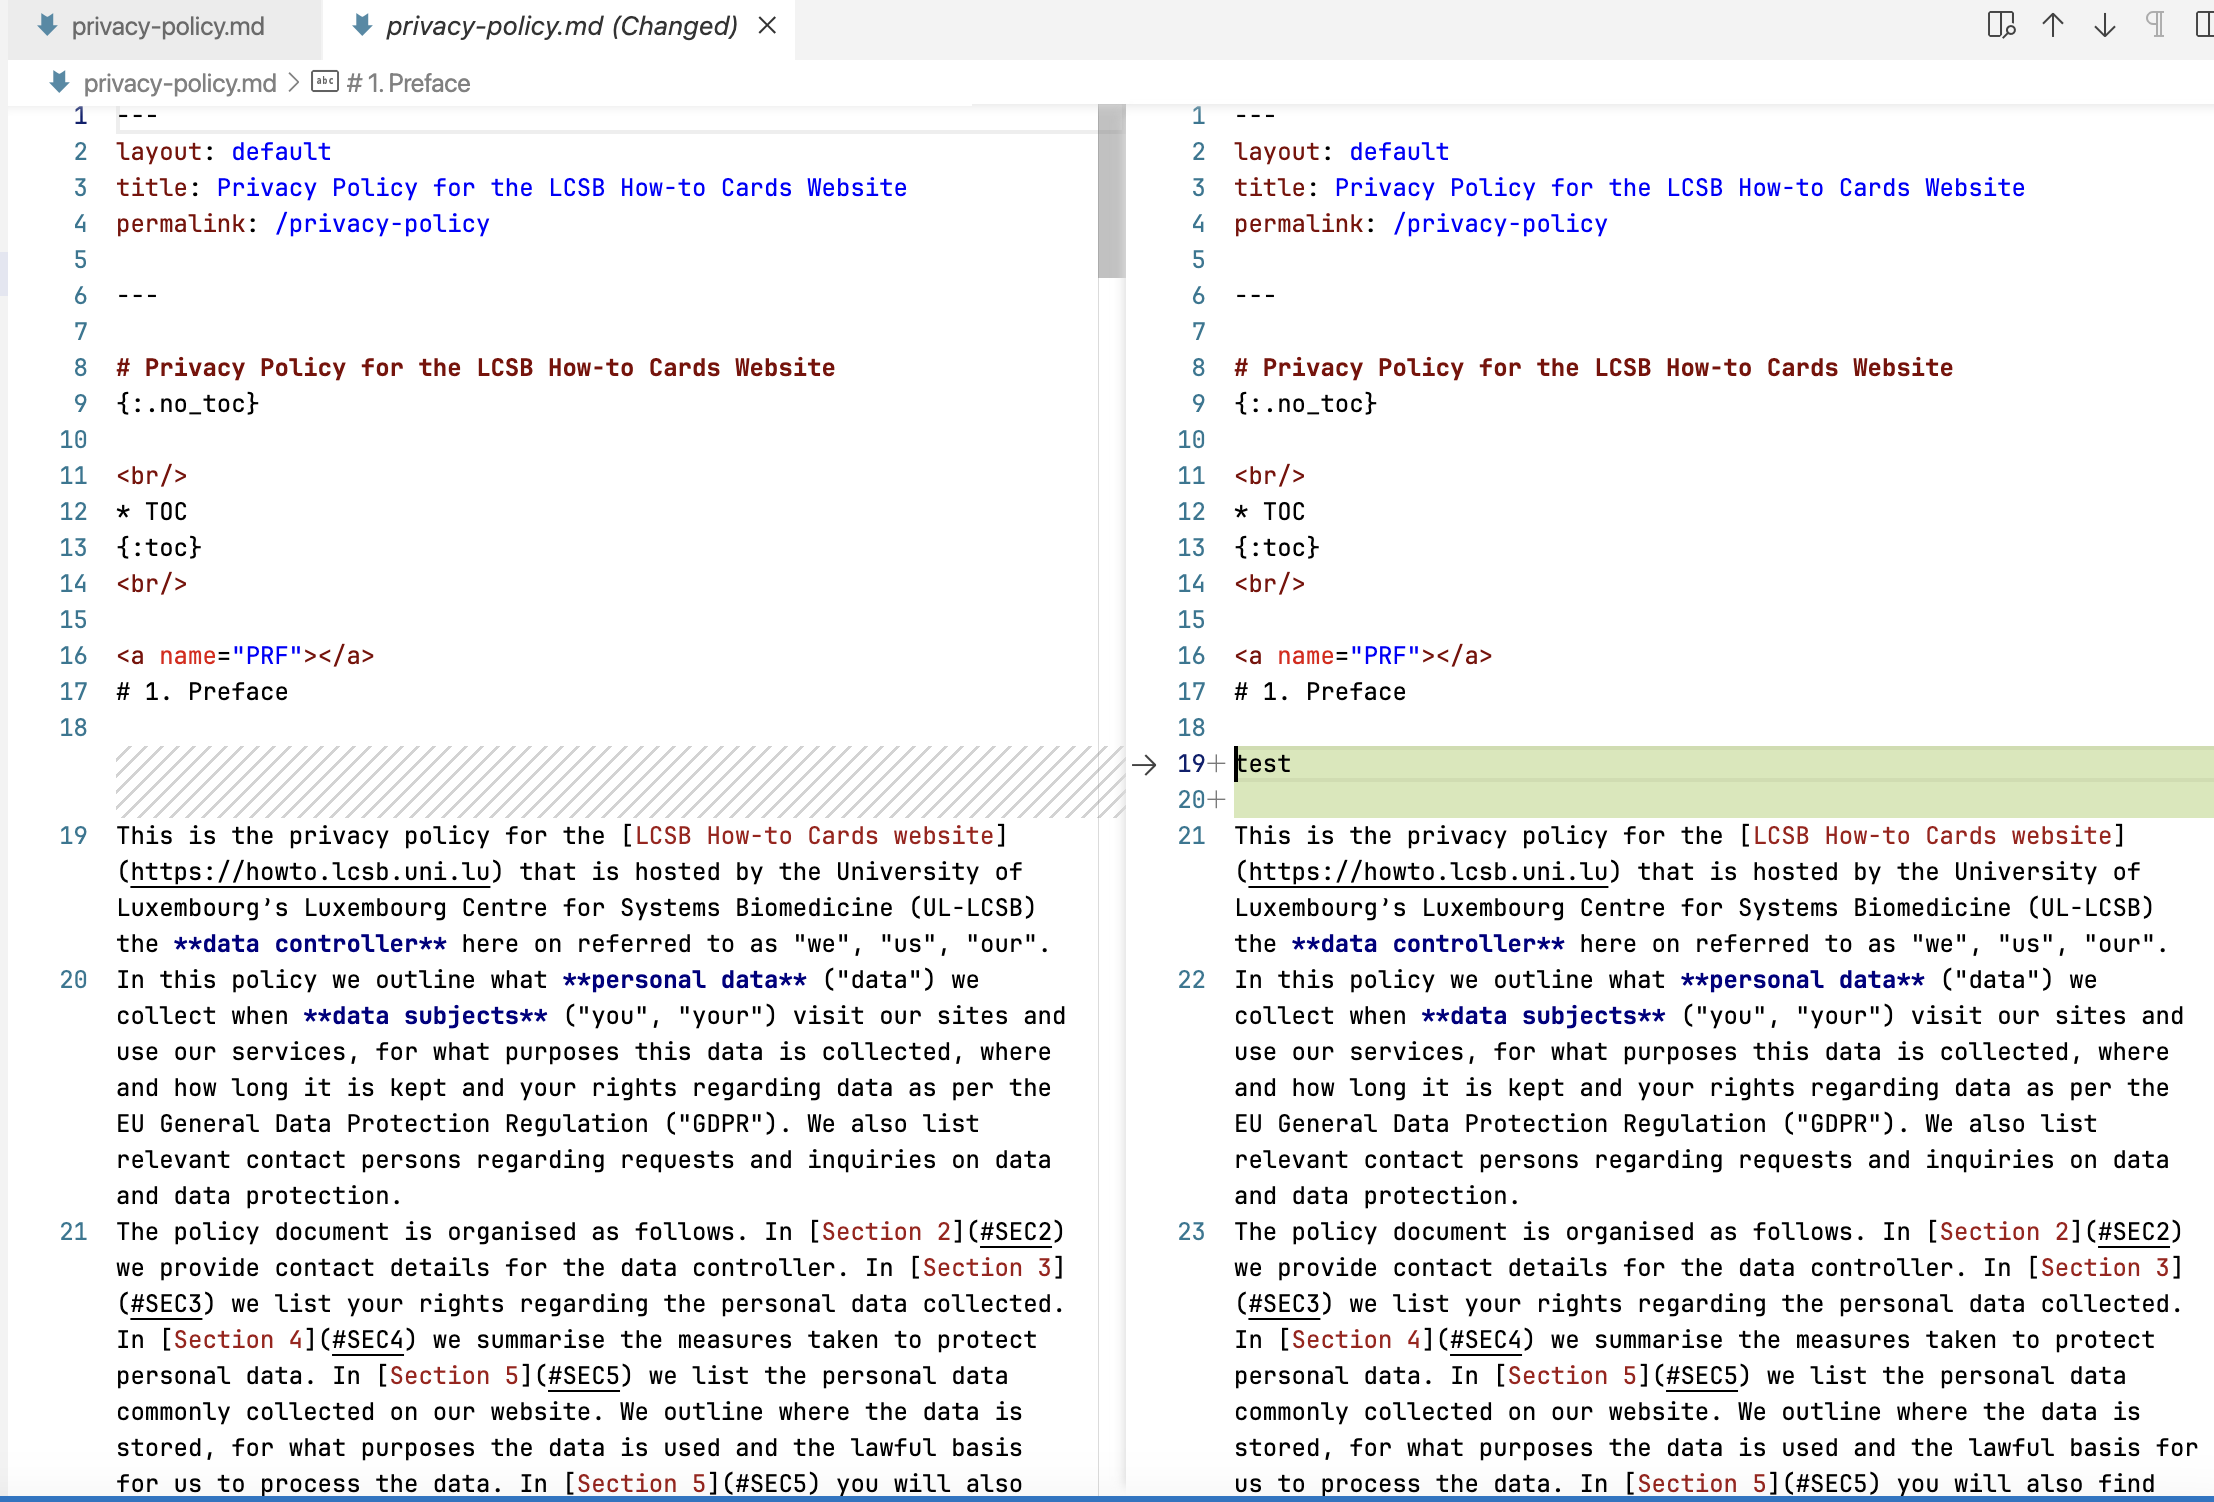
You can see that a green line has been added on the right column. The left column displays the original file (of the develop branch).
Important: You have to select Commit to new branch by clicking on the down arrow.
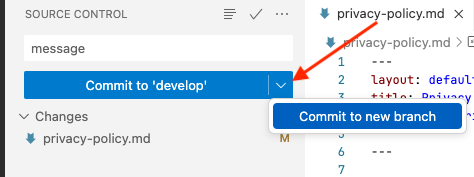
Once you click on the Commit to new branch button, type the name of your new branch and press Enter to accept or Escape to cancel.

Submitting your merge request#
After creating the commit, the following pop-up window on the bottom right corner of your screen is going to indicate you that your changes have been commited. Click on the Create MR button to start your Merge Request.

You will be directed to the New merge request page. This page allows you to merge your changes with the target branch.
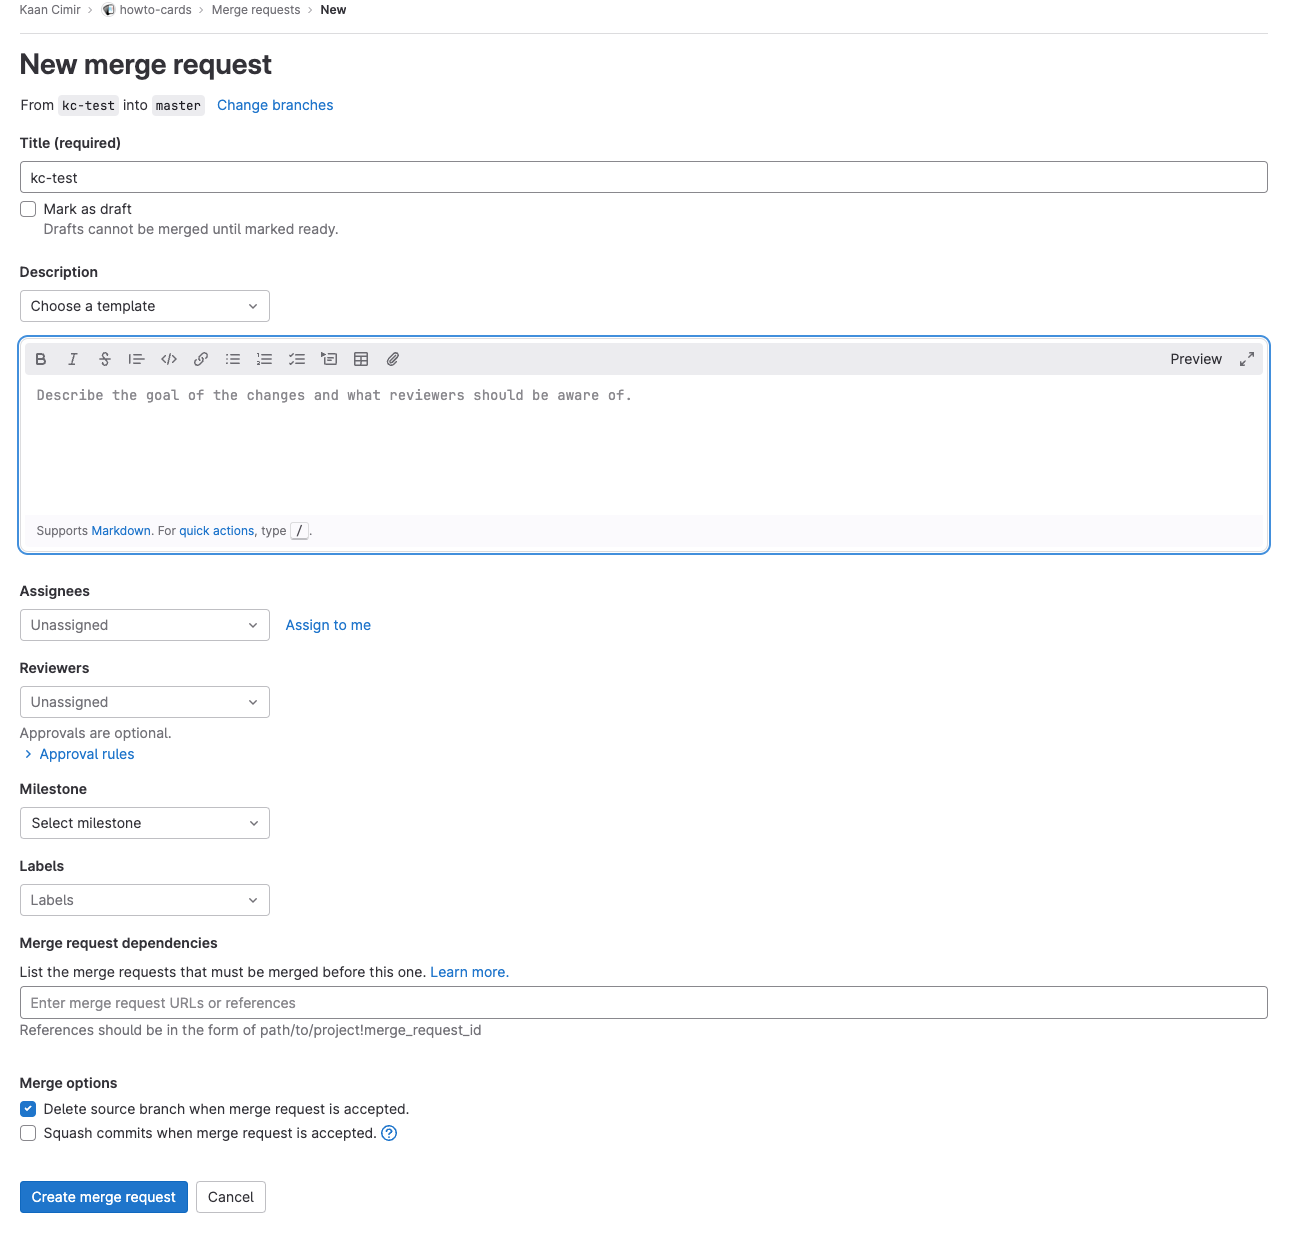
Please make sure you are proposing to merge your branch (on your fork) into the develop branch (on main repository). You can change your target branch by clicking on the Change branches button at the top of the page. The following screenshot represents a merge request from kc-test branch on kaan.cimir fork of howto-cards to develop branch on original repository R3/howto-cards:

You can then fill our the merge request submission form and select, for instance, an Assignee.
Good practice is to select Delete source branch when merge request is accepted.
Under Changes, you can see the added line:
All that is left now is to submit the merge request by clicking on Create merge request button. That is it.
If you would like to understand more about described workflow, please consult Git Trilogy Part 1: Contribute using GitLab slides.